no results
Frequent Searches
"Axle"
"Tires"
"Setup"
"Caster"
"Seat"
"Carburetion"
"Carburettor"
Frequent Searches


All mechanics, as well as the most careful and "professional" kart drivers, measure the temperature of the kart’s tyres at the end of each session. Indeed, the task is fundamental for identifying the ideal set-up and to interpret how the kart handles out on the track. However, regarding this classic manual procedure, there’s a method that ensures significant advantages and convenience: the use of tyre temperature sensors. The data provided is more accurate and, moreover, their performance can be assessed on each of the circuit’s bends, which is the only way to find out, for example, whether on some stretches the tyres experience an unwanted temperature peak and, therefore, to be able to act accordingly. The fitting of the sensors is very simple, as Dr TKART shows us using the Tire Temperature Sensor Kit by AiM, consisting of four sensors, the relative extensions and the IR Temperature Controller. All of which need to be connected to the MyChron 5 telemetry system.

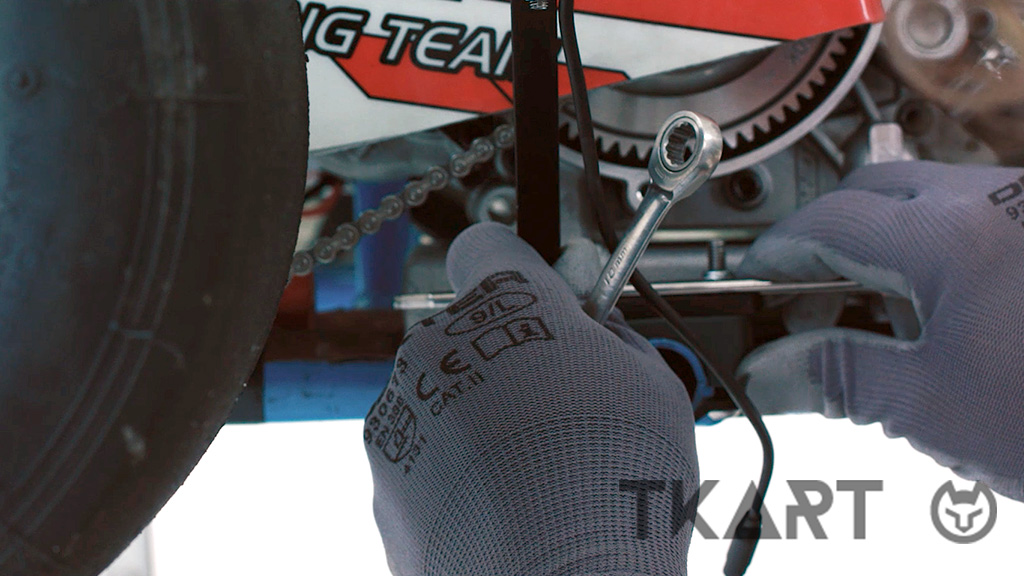
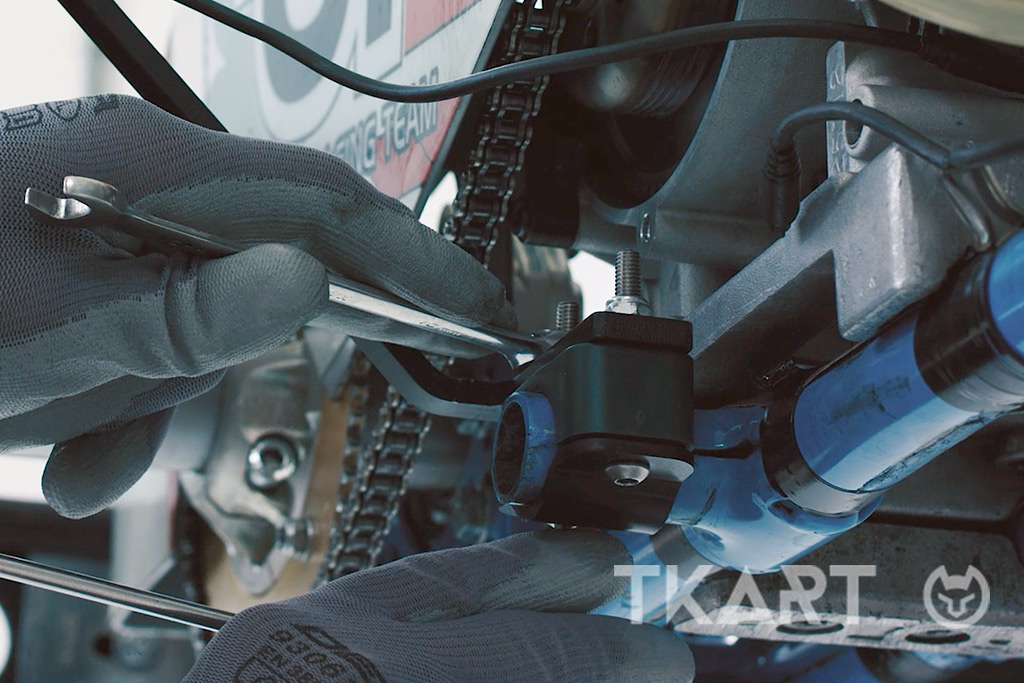
The first step is to pre-assemble the sensor supports before installing them on the kart, remembering that at this stage there’s no need to tighten the screws as much as possible, but just enough to keep the various components together. The rear support consists of a main bracket, an adjustment bracket and an anchor which has to be attached to the chassis. For the front support, remember to insert the anti-vibration grommets between the bracket and the plate. Once the supports have been fitted, the sensors are installed on the adjustment brackets, remembering not to tighten them too much.
Caution: the brackets, plates and screws that make up the supports are not contained in the standard Tire Temperature Sensor Kit.
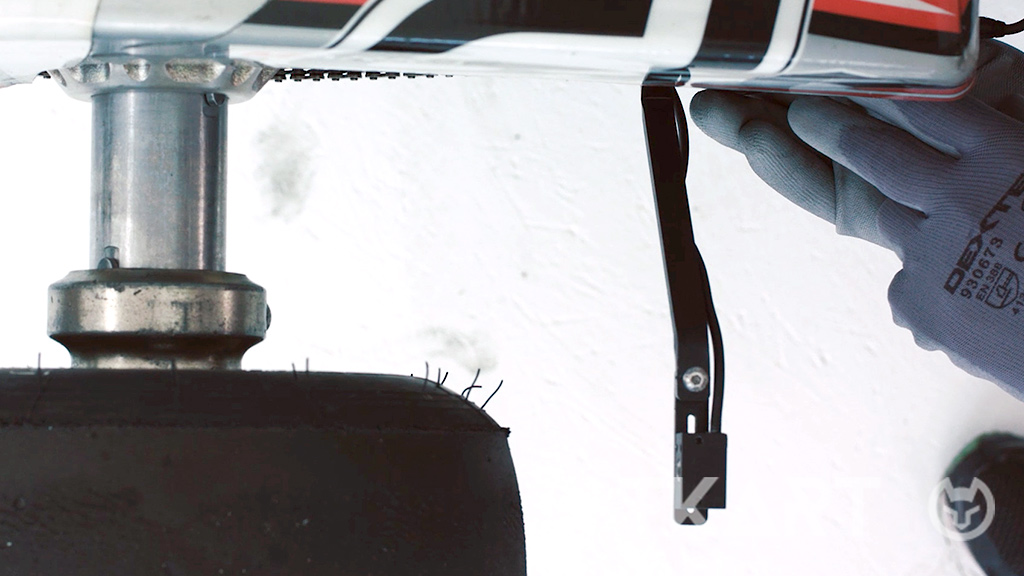
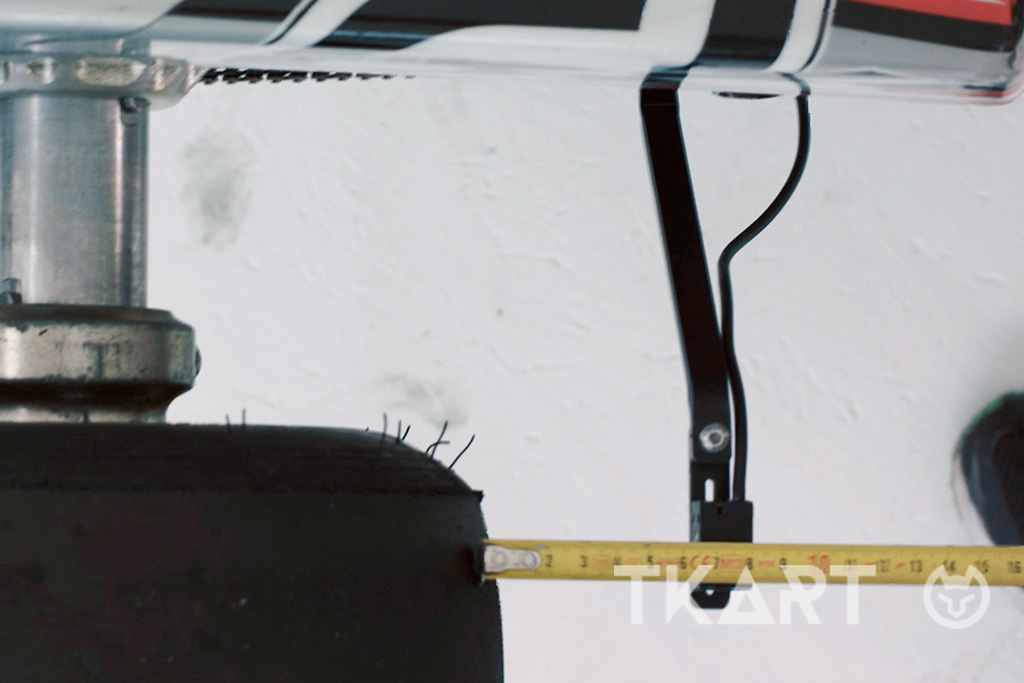
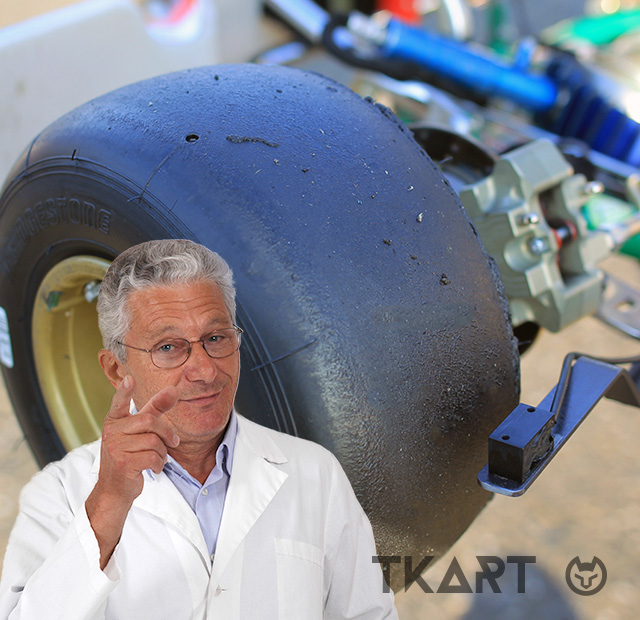
Once ready, the supports can be installed on the kart, starting from the rear ones. For convenience, it’s advisable to remove the side pods so that they don’t get in the way: in fact, the rear brackets need to be anchored to the rear supports of the kart’s side fairings using the appropriate clamps. The only precaution is the need to check that it is all aligned with the chassis, then you can position the sensor using the sliding bracket, before tightening the screws: the correct distance between a sensor and the tread is about 7 cm.