no results
Frequent Searches
"Axle"
"Tires"
"Setup"
"Caster"
"Seat"
"Carburetion"
"Carburettor"
Frequent Searches


The ignition plays an important role in the performance of a karting competition engine and, although it is not a very complex activity to perform, its adjustment must be done carefully. There are two different types of ignition: fixed timing advance and variable timing advance, both are composed of a stator, an element fastened to the crankcase, and a rotor, an element integral with the drive shaft through a conical coupling.
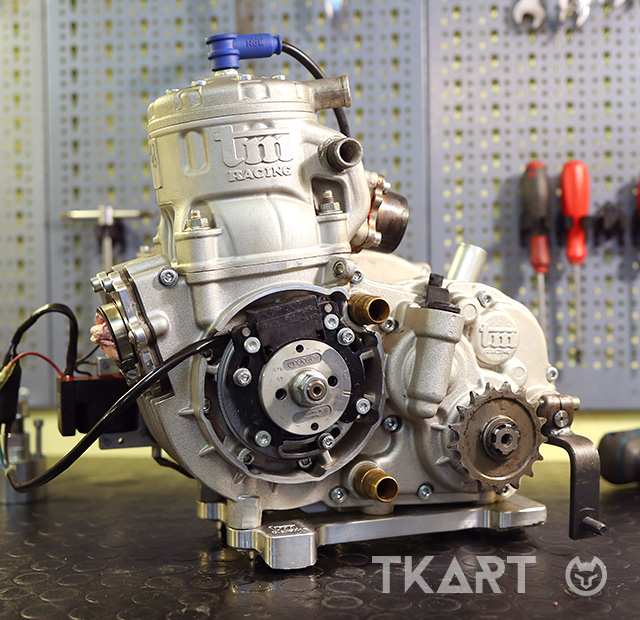
In this article, we analyse the whole process for replacing a variable timing advance ignition, thus showing what needs to be dome to adjust the timing advance according to the data provided by the manufacturer or by the tuner. Dr. TKART uses a TM KZ10 C engine, but the procedure is similar for other fixed and variable timing advance engines.
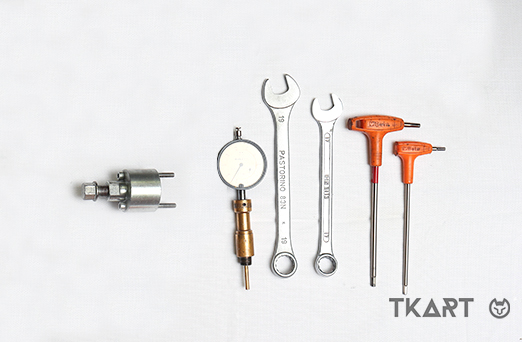
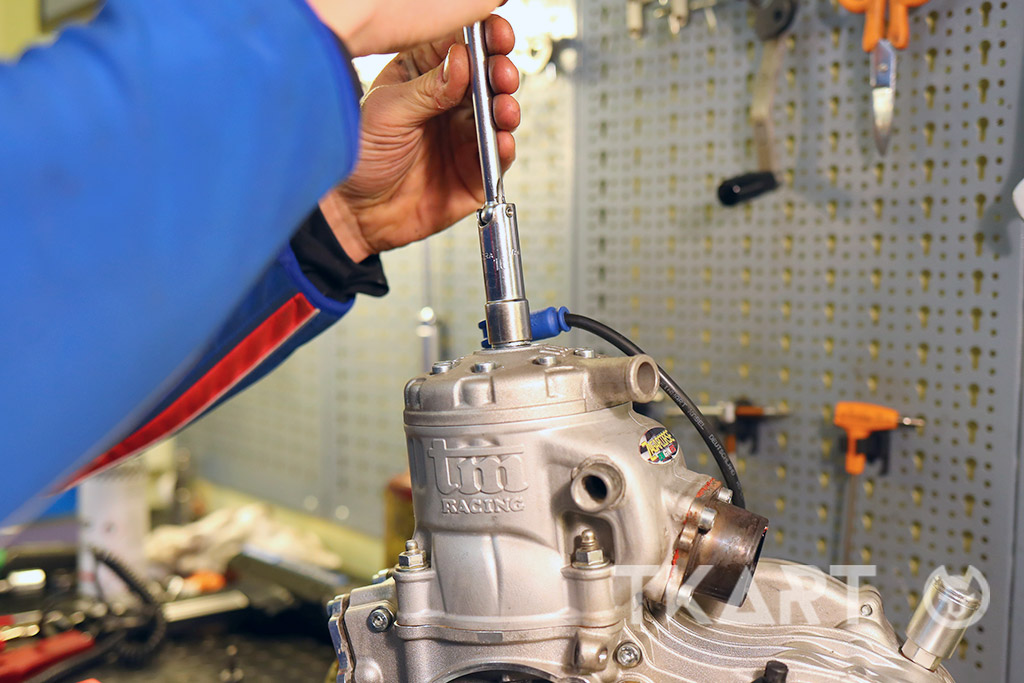
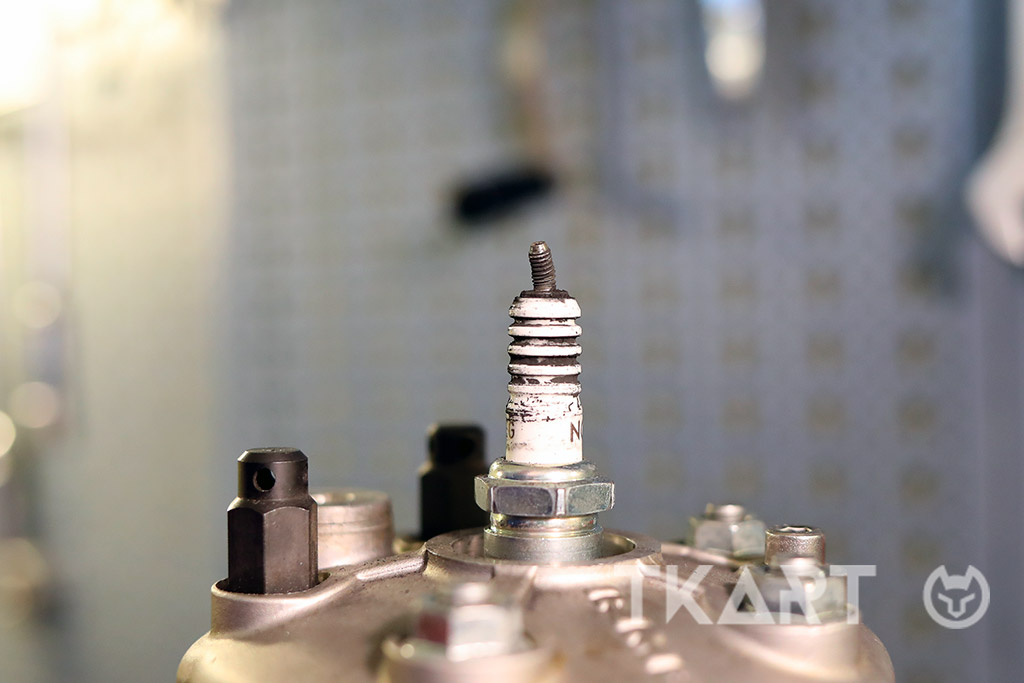
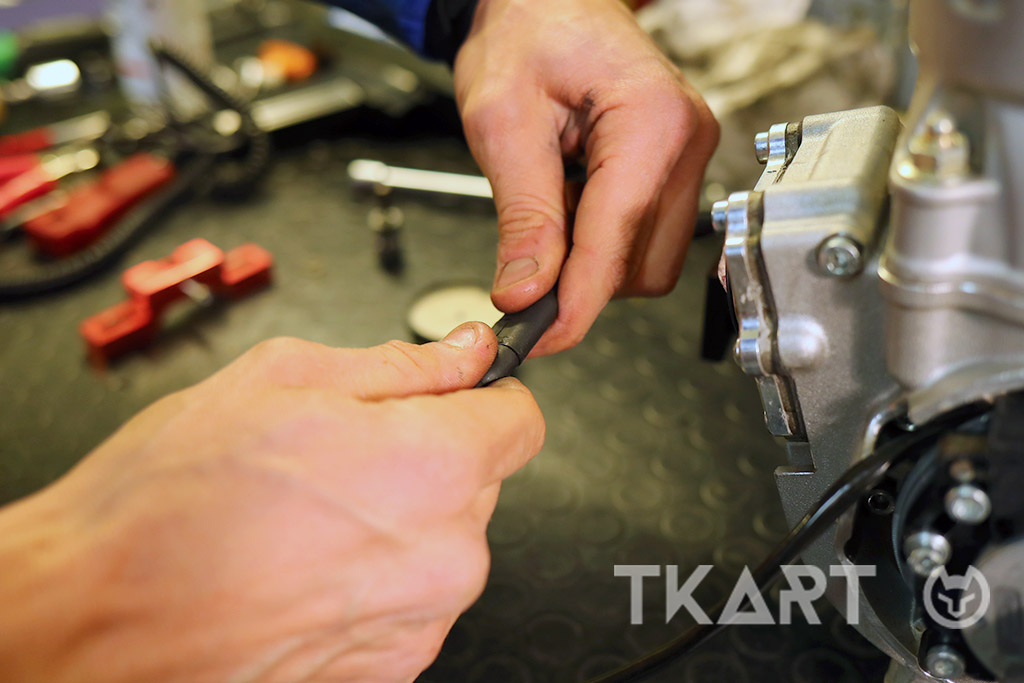
The first thing to do is to remove the spark-plug. The comparator will subsequently be inserted in its place to make the adjustment of the timing advance. Firstly, however, you have to dismantle the stator and the rotor, which are found by turning the engine from the ignition side: the external element is the stator, the internal part is the rotor. The former has a "ring" shape and is fastened to the engine by means of screws housed in a slot which allow its rotation to adjust the timing advance. To remove the stator, after removing the cable that connects it to the coil, unscrew the 4 screws that fasten it to the engine crankcase using a 4 mm Allen wrench.
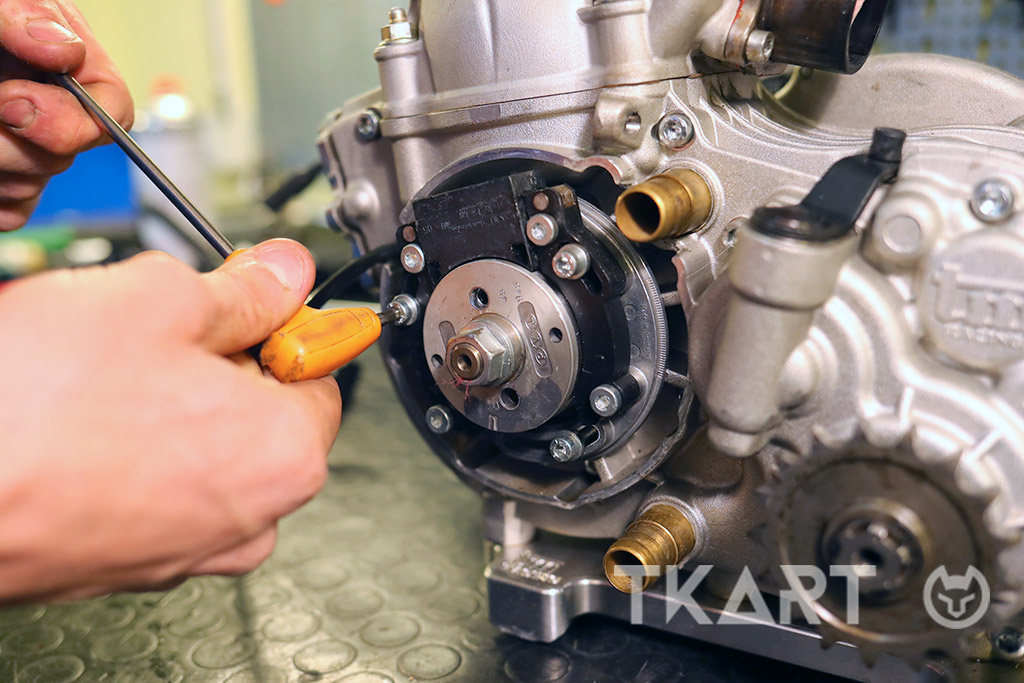
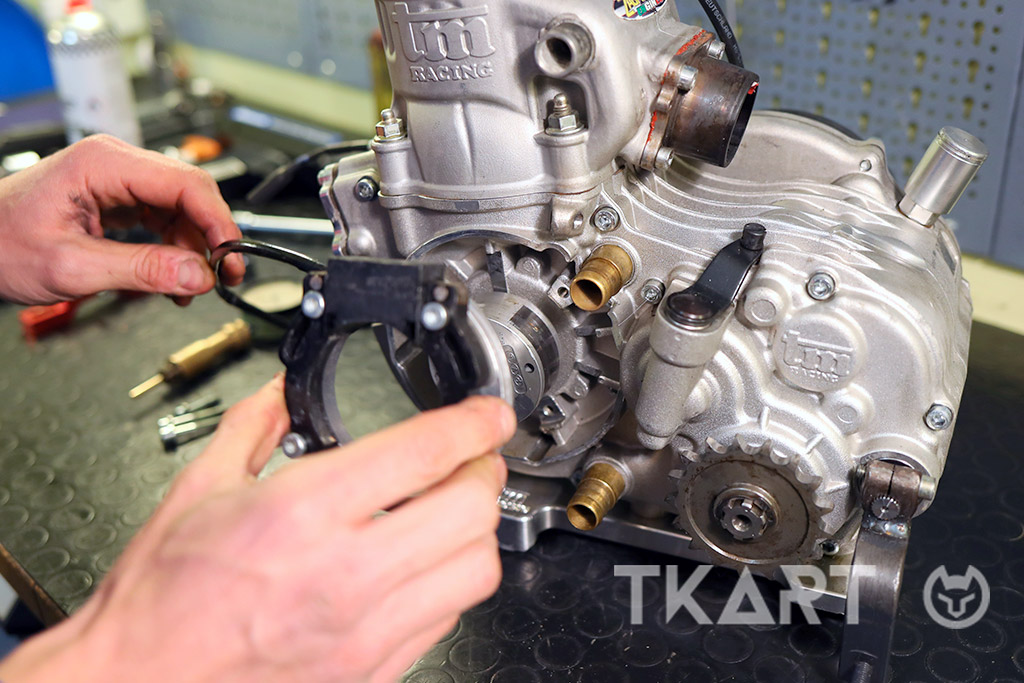
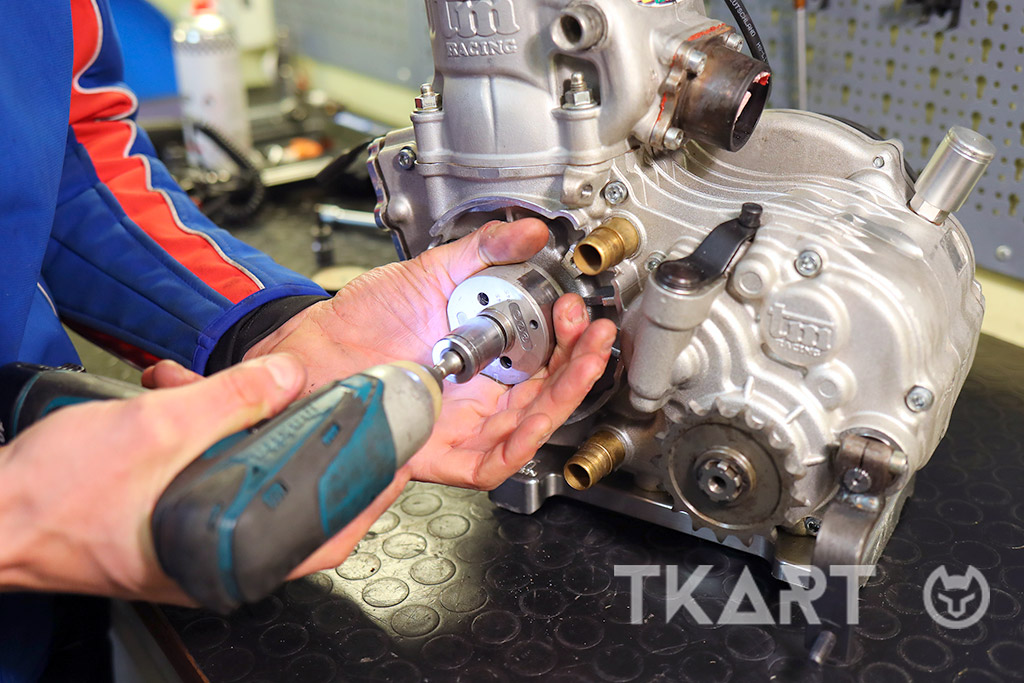
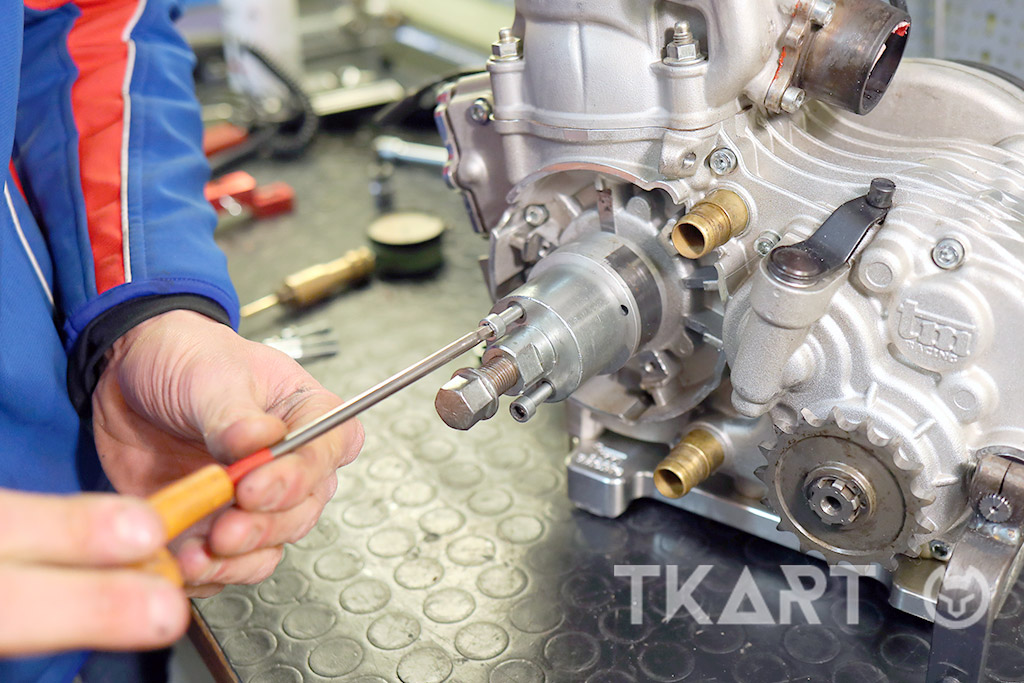
Once the stator has been removed, deal with the rotor, i.e. the aluminium cylindrical element fastened to the engine shaft. This contains two magnetic poles, north and south, which, by rotating, interact with the stator windings. To dismantle the rotor, unscrew the closing nut with a 19 key and then use the extractor (in our case the one dedicated to Selettra ignitions), a specific tool to be screwed to the thread which allows the rotor coupling to be freed.