no results
Frequent Searches
"Axle"
"Tires"
"Setup"
"Caster"
"Seat"
"Carburetion"
"Carburettor"
Frequent Searches


The procedure for changing an axle is in itself quite simple, but rather long, because there are so many elements that focus around this key component for the operation of the kart. The frequency with which this task is performed varies greatly depending on the “competitive” level of the driver: those who race purely for fun, without too much pretence, may never replace it, unless it is damaged. Whoever races at a certain level, however, will change it several times over the same weekend, or, of course, in case of damage, when the kart is set up. The axle must be removed and reinserted (even without replacing it, but the procedure is exactly the same) even if you want to change the bearings or the flanges or brake disc, or even replacing the belt of the water pump.

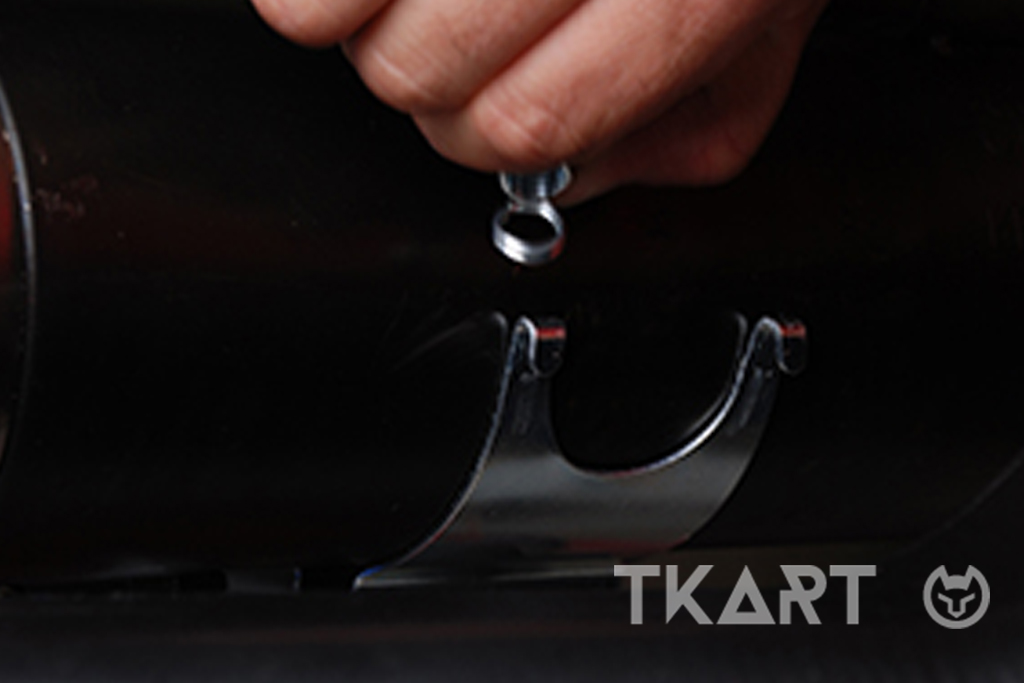
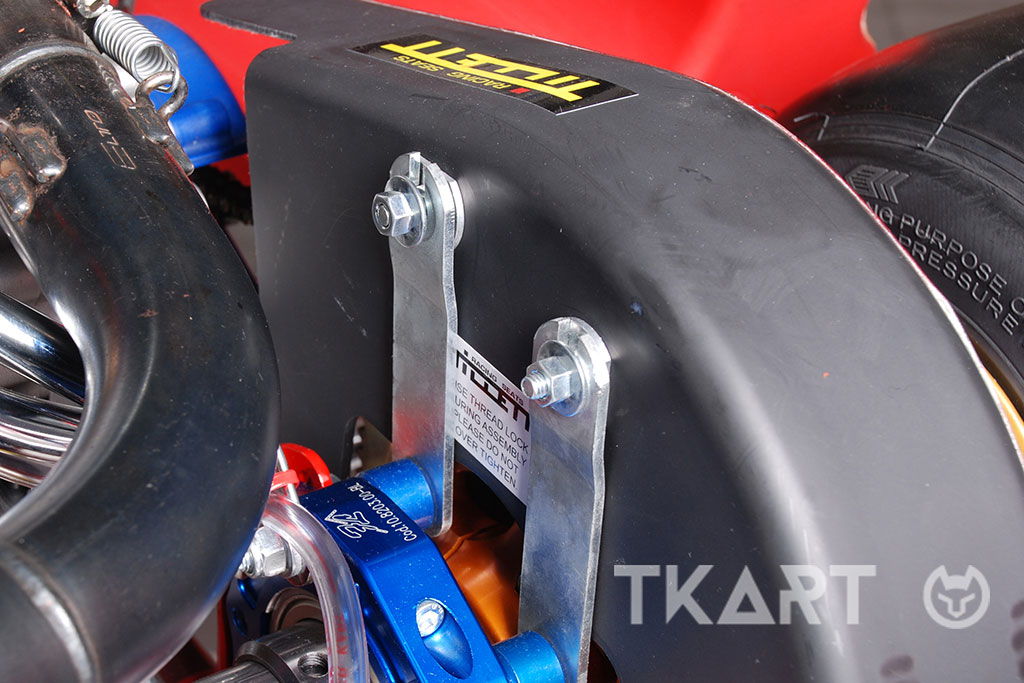
First you have to remove the chain guard. With the Birel kart used by Dr. TKART, a 10 mm wrench is needed, but there are several models of chain guards, including manual unlocking. Then, to work more comfortably, the exhaust can also be removed, but this is not indispensable.
If you want to do this, the springs must be removed from both the engine and the cradle.
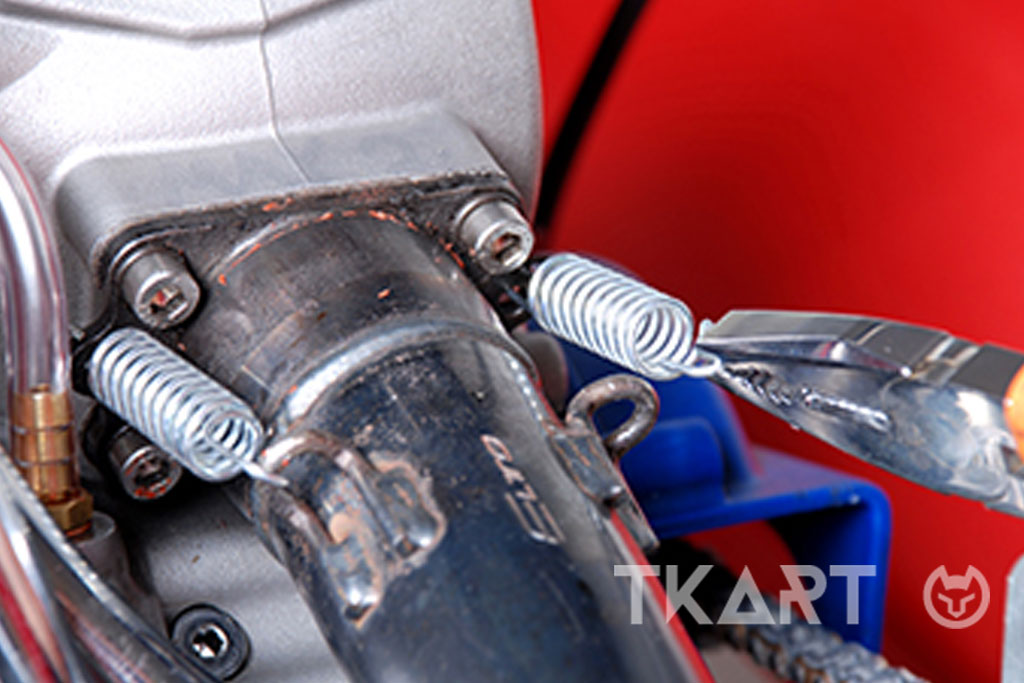
A pincer is used to do this, or toing and froing or, with some skill, using hands, but to avoid getting hurt, it is better to leave this latter option to the experts.
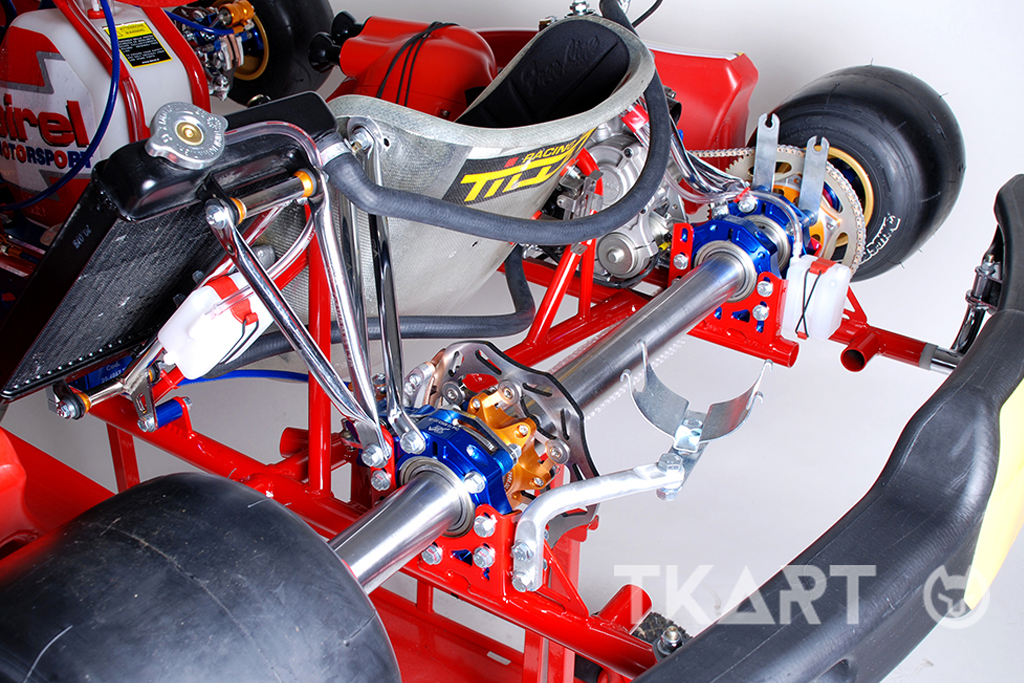
At this point, the “workplace” is free of obstacles.