no results
Frequent Searches
"Axle"
"Tires"
"Setup"
"Caster"
"Seat"
"Carburetion"
"Carburettor"
Frequent Searches


It has happened to many kartists, and it will happen to many more: finding a dusty kart that has not been used for years in a garage. Or inheriting a used chassis that was used by your father. Vehicles that are no longer "new", of course, but not worth getting rid of. So, perhaps at first as just a little fun, or for a challenge, comes the urge to restore it. Obviously, it all depends on the conditions of the vehicle: if the vehicle is truly old, has not been used for 20 years and with half of the parts missing ... it needs real restoration, like the one discussed in this article.
However, if the kart was only a few years old and performed well before being forgotten in a corner, it may well be worth restoring. Undoubtedly, you have to be an expert or rely on the help of someone who is, and you will certainly have to consider spending quite a bit on spare parts and possibly complex restoration activities (for example, overhauling the engine), but in the end it will give you a lot of satisfaction and, in any case, it is cheaper than buying a new kart.
In our case, Doctor TKART had no doubts and accepted the challenge.
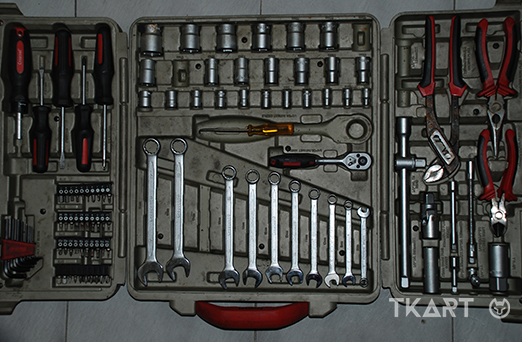
There are not many decisions to take: a full tool box is needed to restore a go-kart. In fact, it will probably be necessary to add something extra. For example, a blow dryer unless new stickers are put on the fairings.
The first thing to do is to bring the kart to the workshop or place it will be worked on, which presupposes having a trolley to support the chassis. This activity is useful for preparing an initial "report" on the conditions and history of the vehicle. In this article, Doctor TKARt had to restore a Rakama chassis, bought new in the early 2000s and used for a few races with a Parilla Reedjet engine. Subsequently, having abandoned the use of the engine for racing, it was replaced with a IAME Leopard 125 TaG. The kart was stationary for a few years, after ignition issues had seen it stored in a garage awaiting overhauling. Which was never carried out...
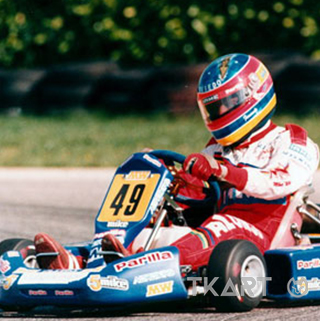
The main chassis in this restoration was a Rakama one. The company was located near Zingonia (near Bergamo, Italy) just in front of the Iame production plant. Mike Wilson, 6 times karting world champion (a record that is still unbeaten), was in charge of the manufacturing activities.
Fernando Alonso was one of the many drivers that have used Rakama KARTS in their karting career.
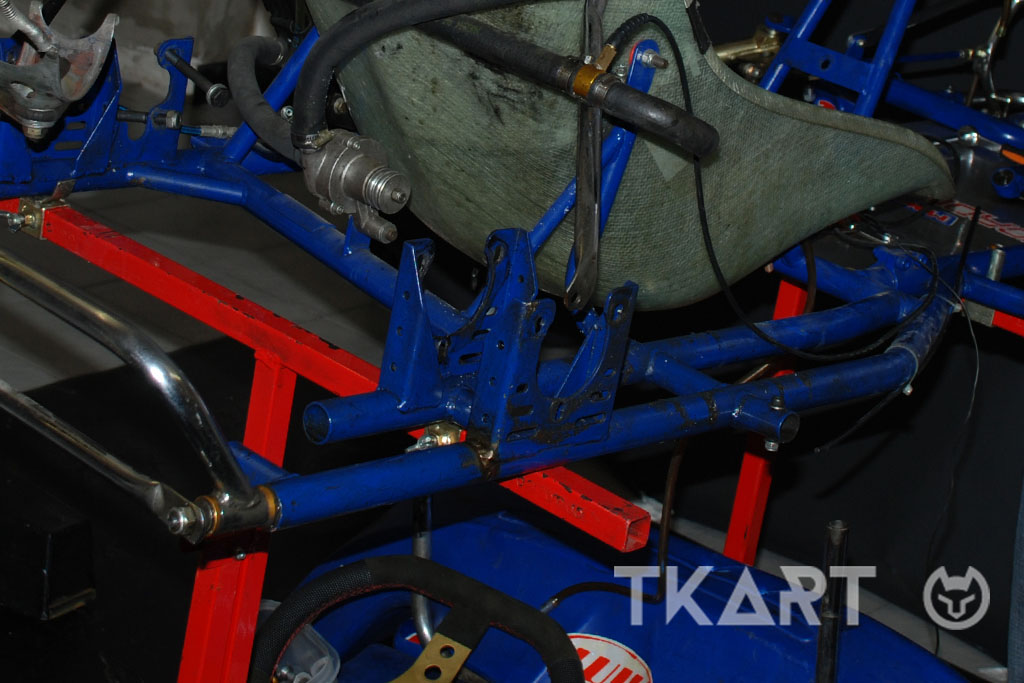
Apart from turning on the ignition, the kart was put in working condition again, in order to evaluate its "state of health", and disassemble it part by part. The parts that still work can be kept, as long as the sizes are checked (for example, the seat) and the tightness of the bolts. The parts that do not work should be replaced. The parts that are missing ... have to be found. First, however, it's best to take the battery out (which in our case is the reason why the kart finished up in a garage), and then engine, so as to free up space and be able to work more comfortably. When doing so, it is necessary to pay attention to the petrol tank, because if it is dry it can break and damage the carburetor cap.
Since the engine was working when the kart stopped, there is no reason to assume there are problems now. The only thing to check is the carburetor membrane seal. You can also remove the lamellar pack and check whether the blades are intact, but this is already a "preparatory" level. For safety reasons, however, an overhaul can be carried out at a servicing centre.
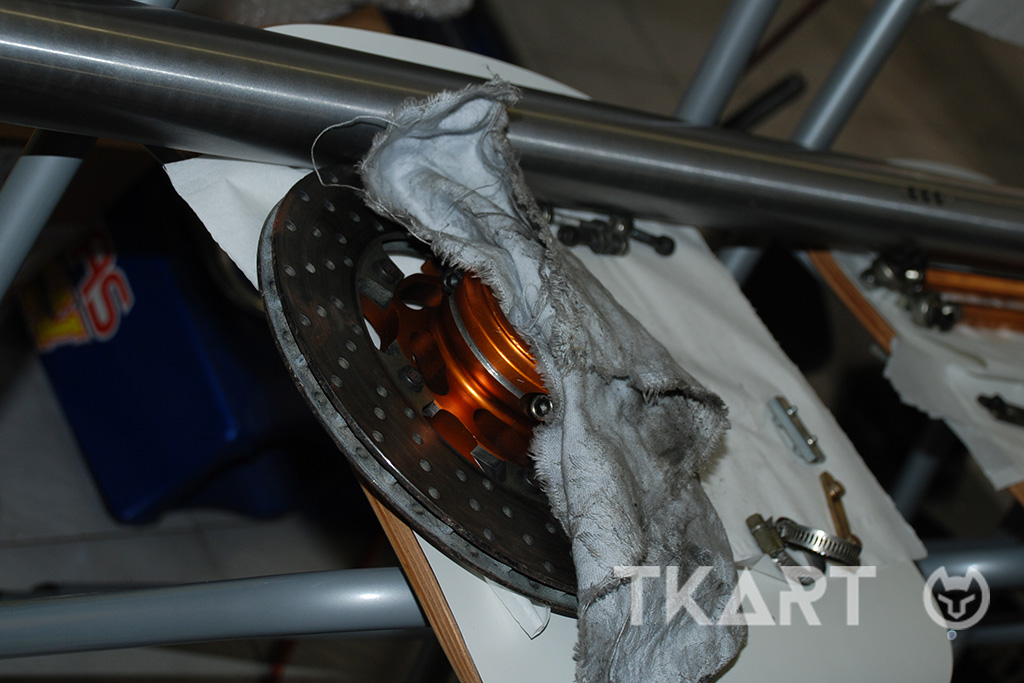
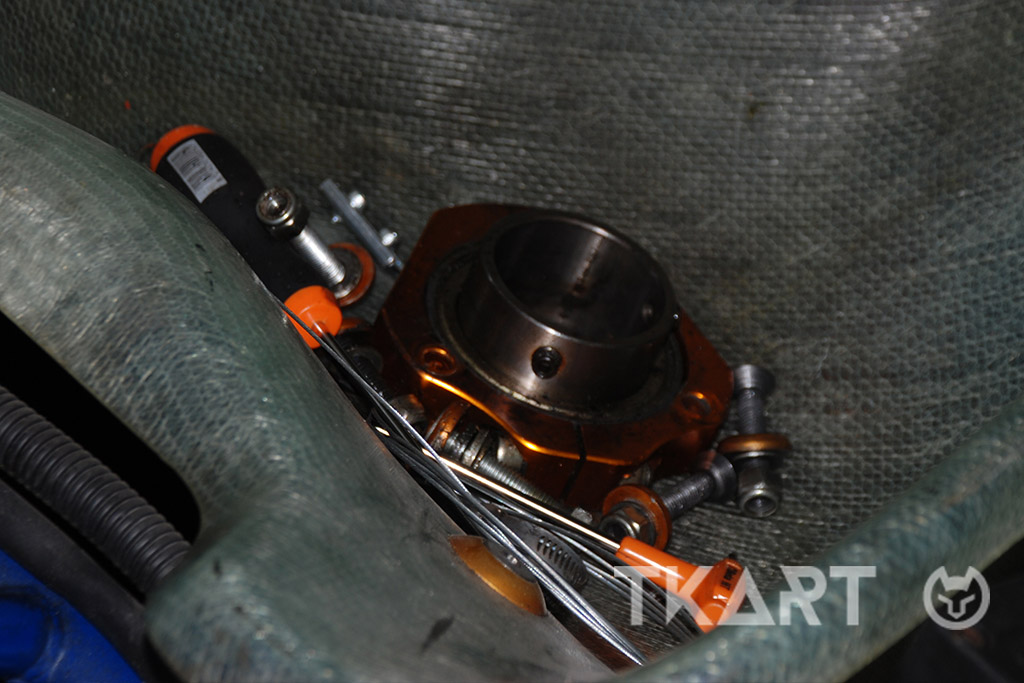
You start from the back for the actual disassembly. At this stage, it is best to note any scratched nuts or screws to have a list of what will be needed for reassembly. Particular attention should be paid to the bearings, making them turn in their housings and paying attention to any "scraping" that would make replacement the best option. Otherwise, once dismantled, they should be left for half a day (with the screws and bolts) immersed in petrol to remove impurities.
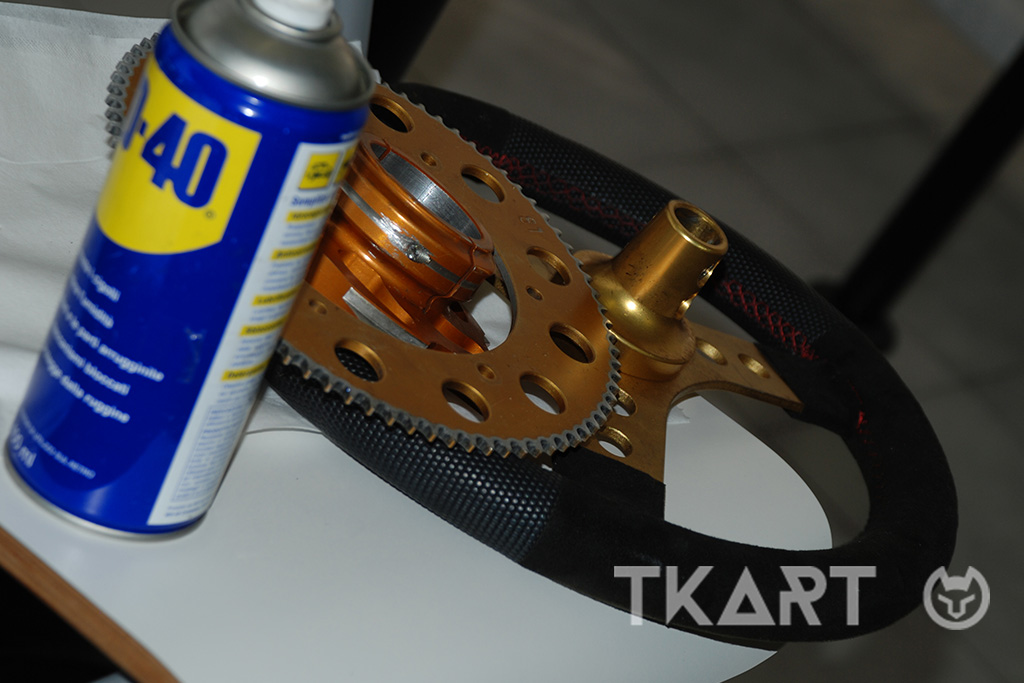
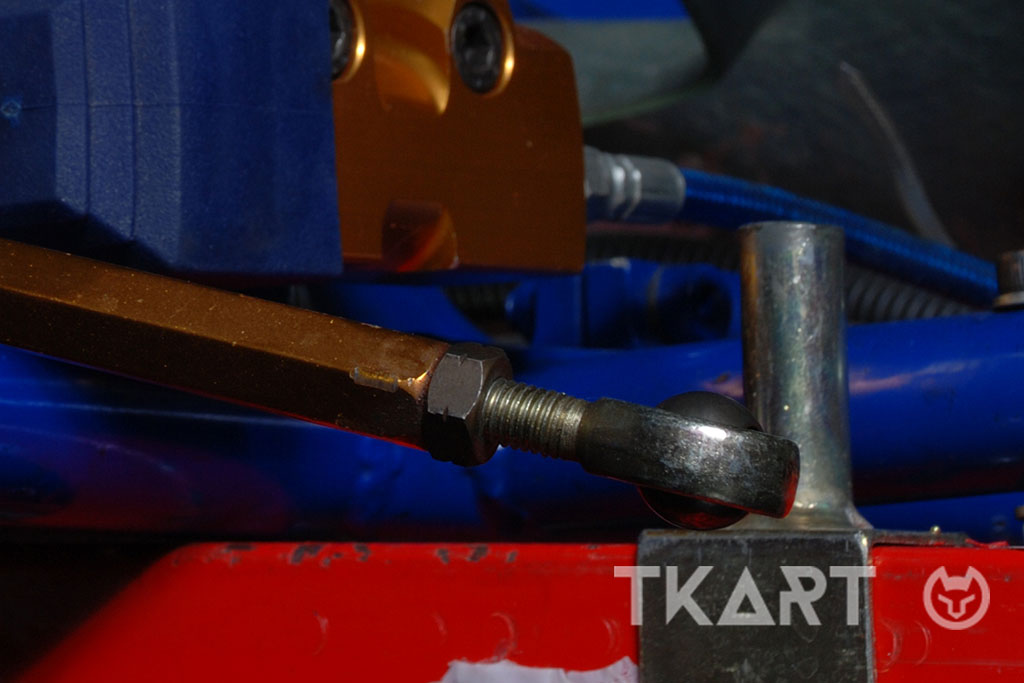
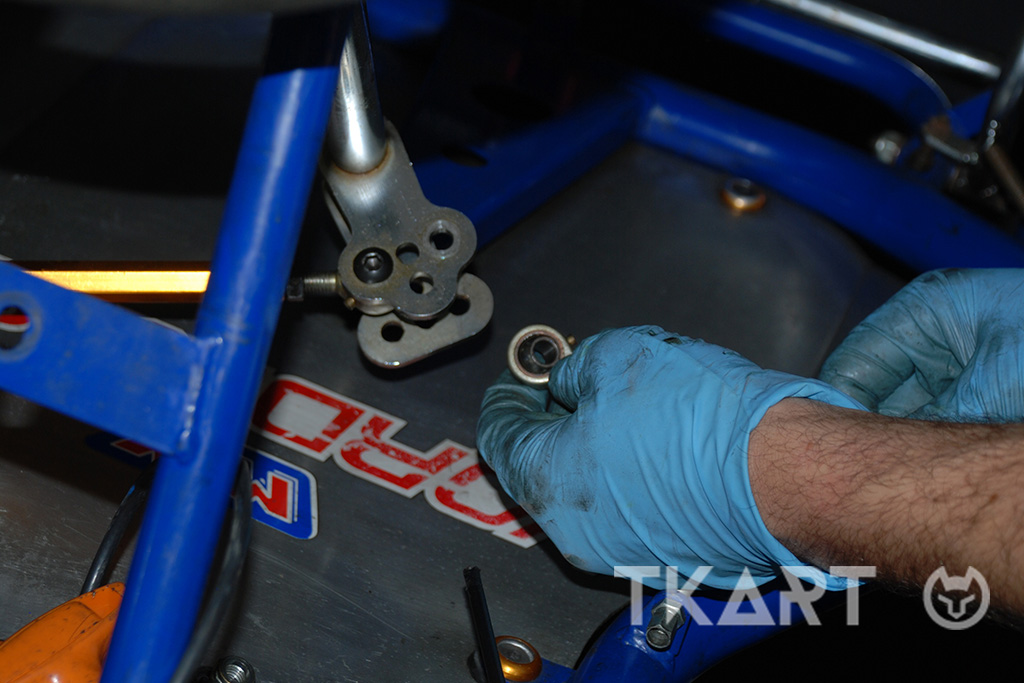
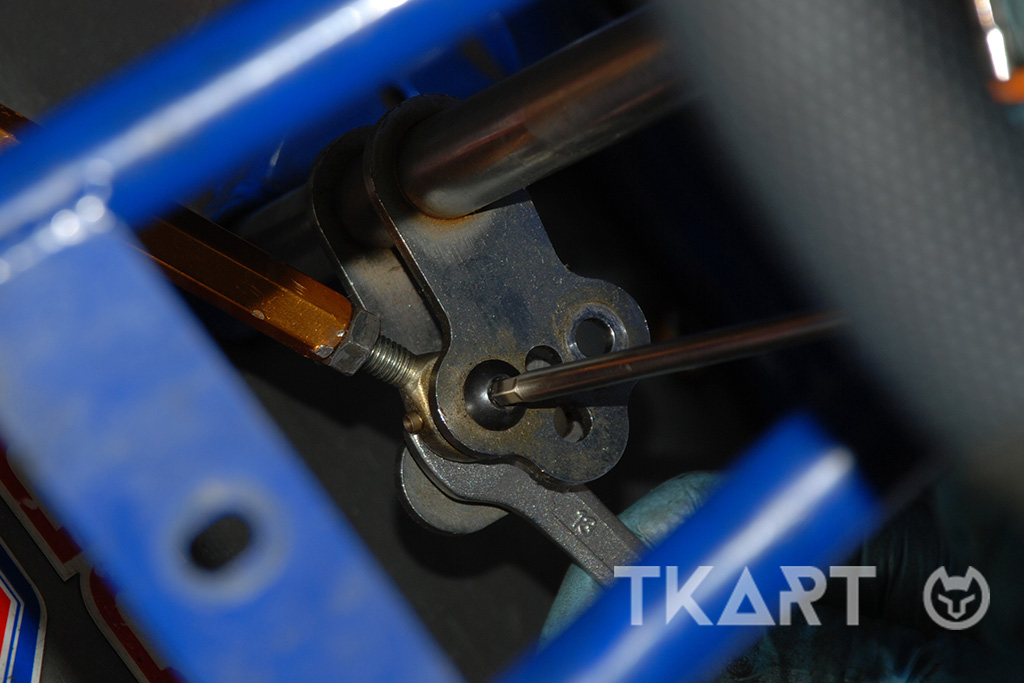
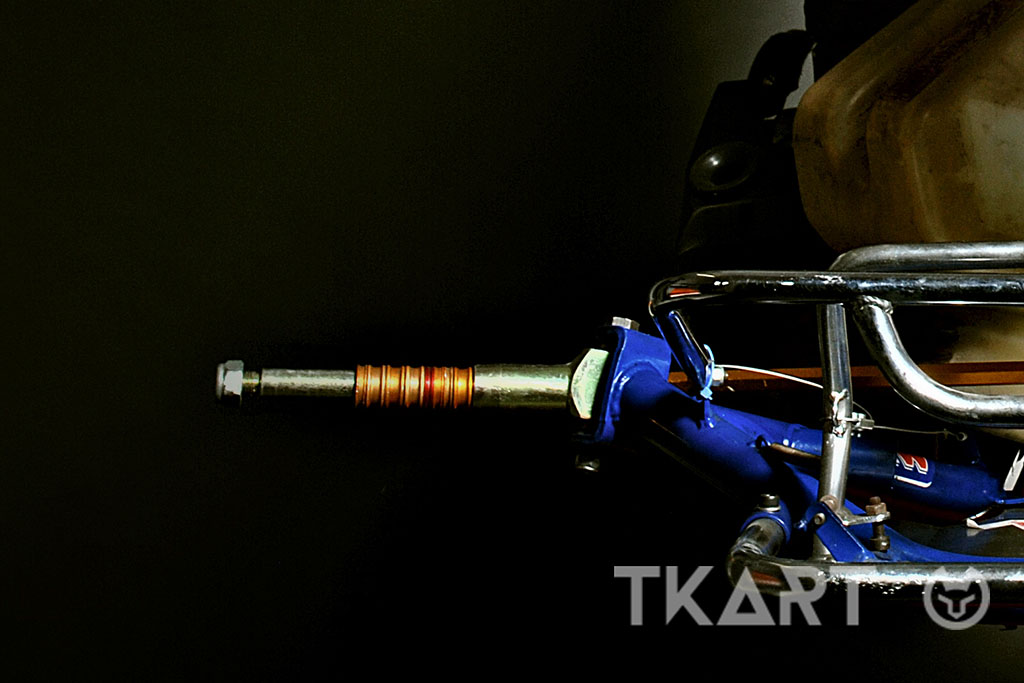
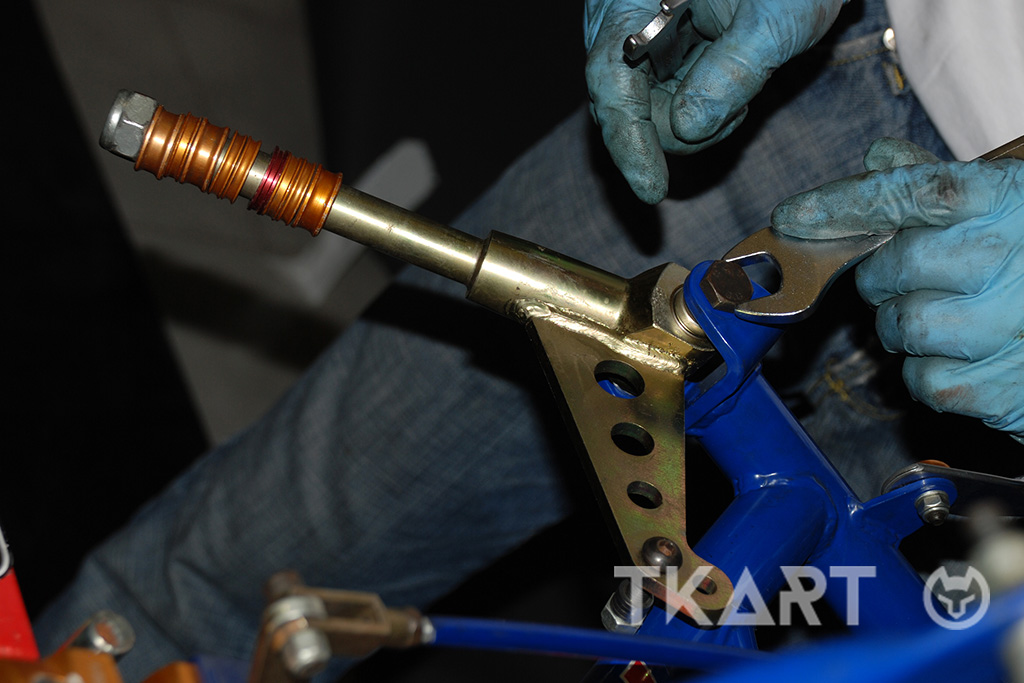
Moving to the front, the focus is on the steering: the arms must be released and the steering wheel turned to see if the column is straight: if it is not, it must be replaced. Then, with a 13-pin wrench, the steering column and steering wheel must be removed to check that the uniball is not blocked (but also that there is no excessive play) by turning the "ball" with a finger.
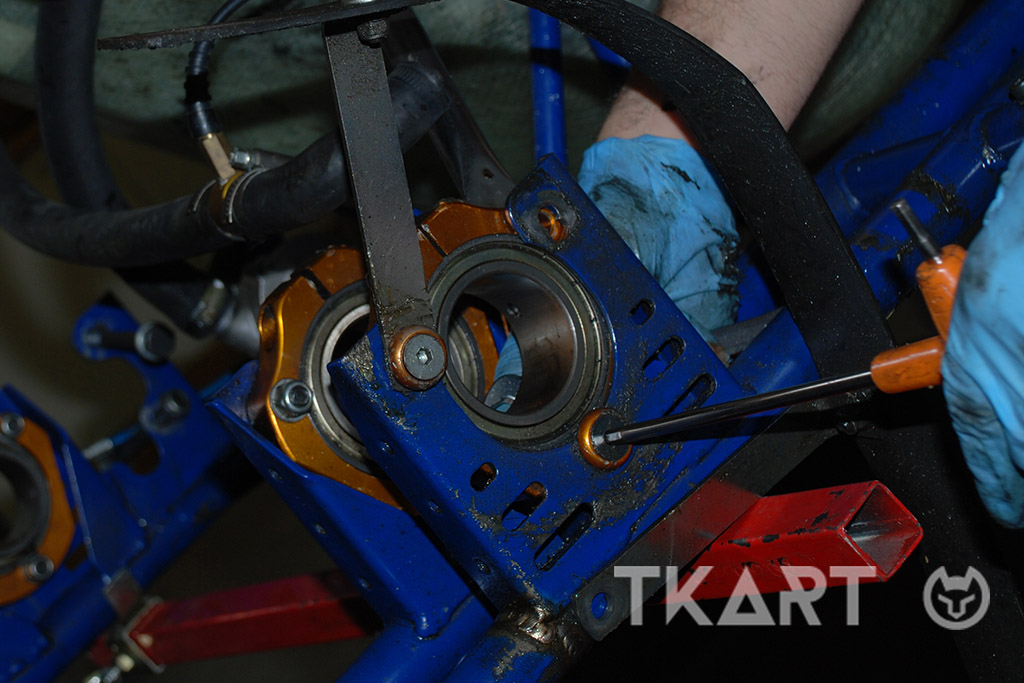
Regarding the spindles, loosen the pin and turn the screw: any abnormal movements indicate that the pin is bent and the stub axle must be replaced.
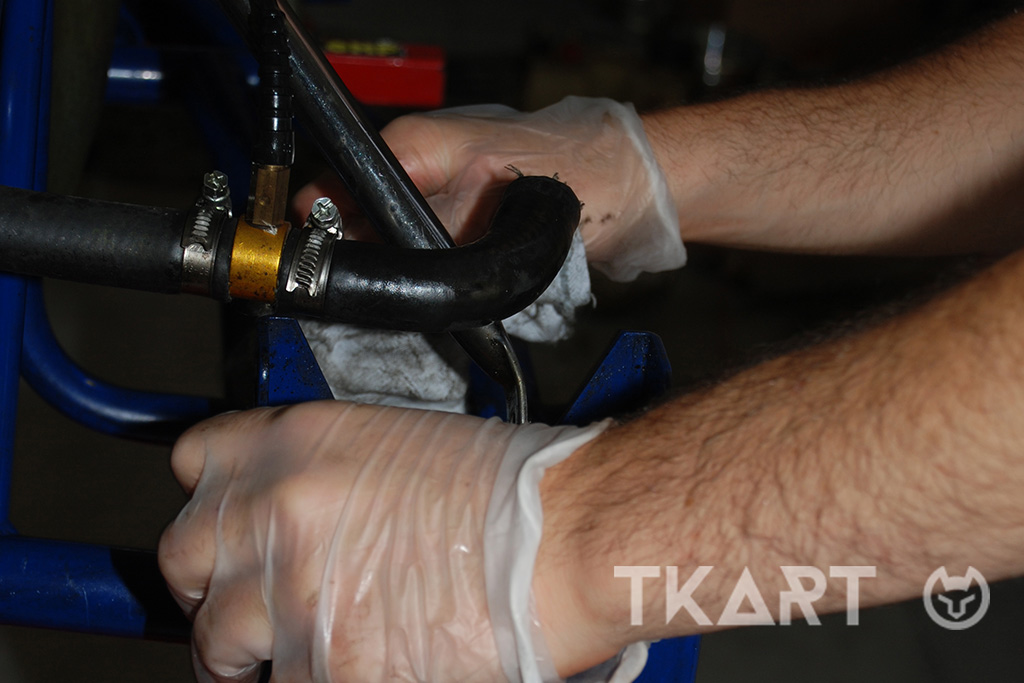
The wires and pipes must also be checked and replaced in case they are crushed. Small cracks in the data acquisition cables, on the other hand, can be reinforced with adhesive tape.
The seat, even if intact, must be checked to ensure it is in the correct position (according to the measurements provided by the manufacturer).


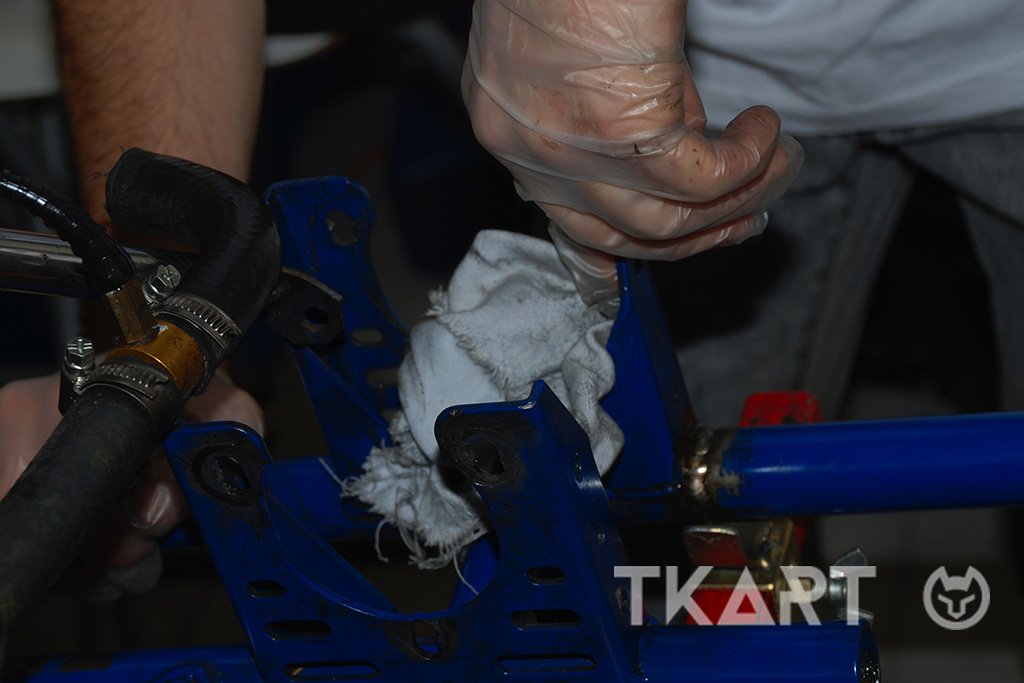
Once the chassis has been freed from all the parts that can be removed, it's time to give it a good clean. This activity, if carried out carefully, also allows you to check whether the body has any cracks, as well as checking that there is no crushing in the part of the curvature (the most stressed point). A product such as WD 40 can be used with a simple disposable cloth to clean the body.
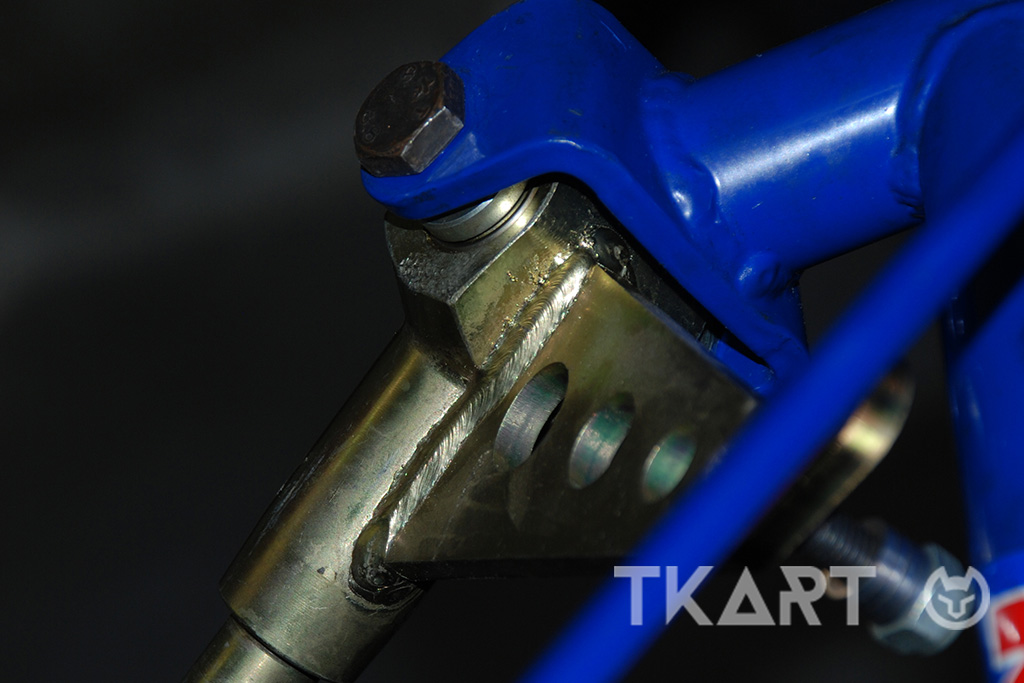
Regarding the chassis, check that there are no abnormal "C" creases. To do so, or use a surface plate (which not everyone is able to do) or convergence disks (see the dedicated article by Doctor TKART).