no results
Frequent Searches
"Axle"
"Tires"
"Setup"
"Caster"
"Seat"
"Carburetion"
"Carburettor"
Frequent Searches


A diaphragm carburettor is the component in which air and fuel are mixed correctly for optimum combustion and lubrication/cooling of the piston and cylinder in the combustion chamber. Incorrect carburetion may depend on errors when adjusting the low and high rotation screws or the wrong choice of needle valve spring.
However, much more frequently carburetion problems simply depend on a lack of maintenance on the carburettor itself.
In this article, with help and advice directly from Tillotson, one of the leading companies in the industry, Dr. TKART explains the steps needed to check, disassemble, replace parts and reassemble a diaphragm carburettor.
The model used is an HC - 112° made by the Irish manufacturer (whose origins date back to 1914 in the United States) and used in the OK class.
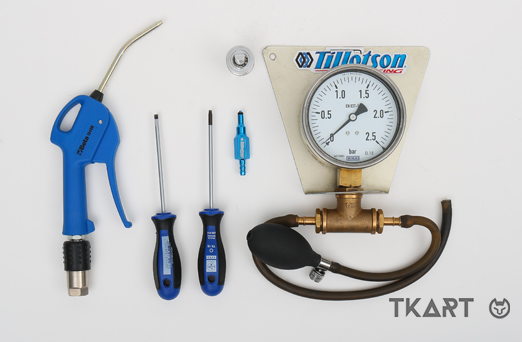
OTHERS: fine-milled tubular wrench for disassembling the needle valve seat
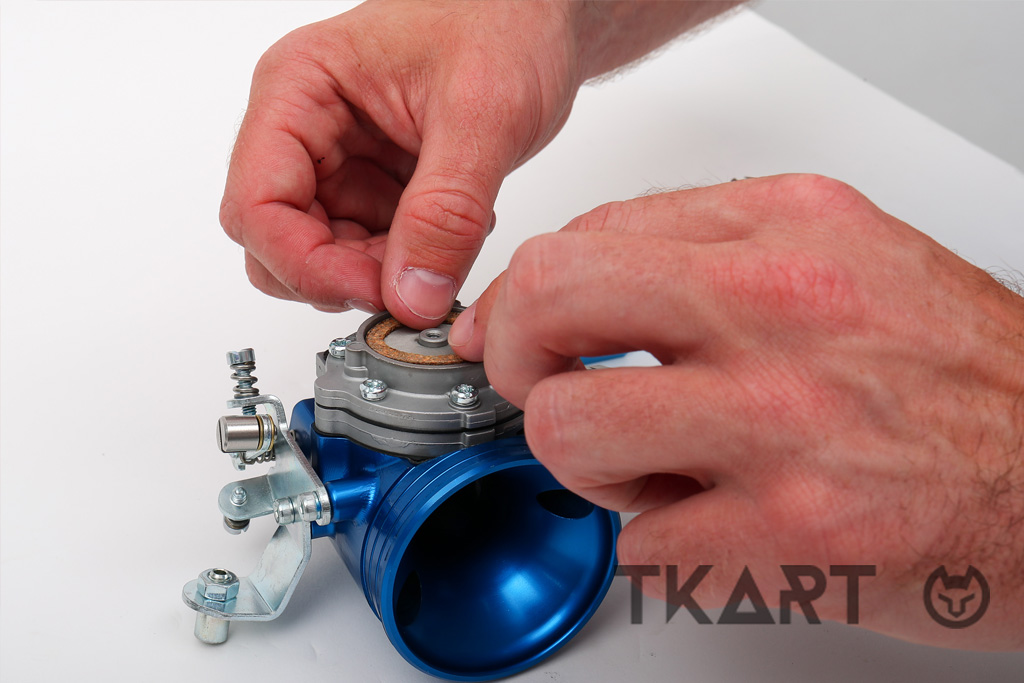
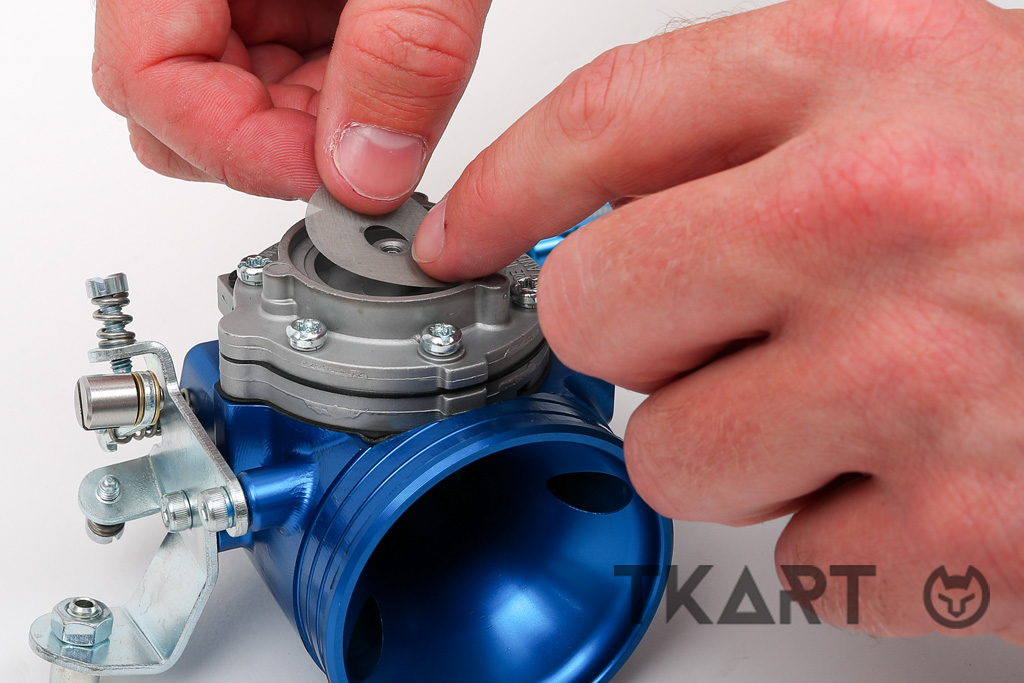
When you pick up a used carburettor, the first checks you carry out are external.
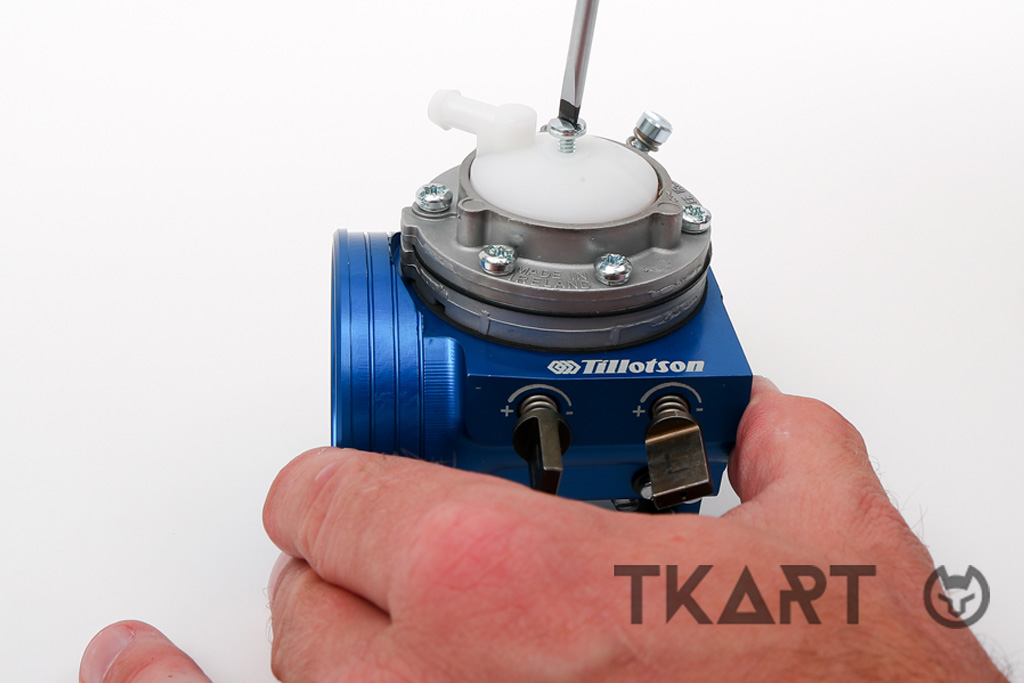
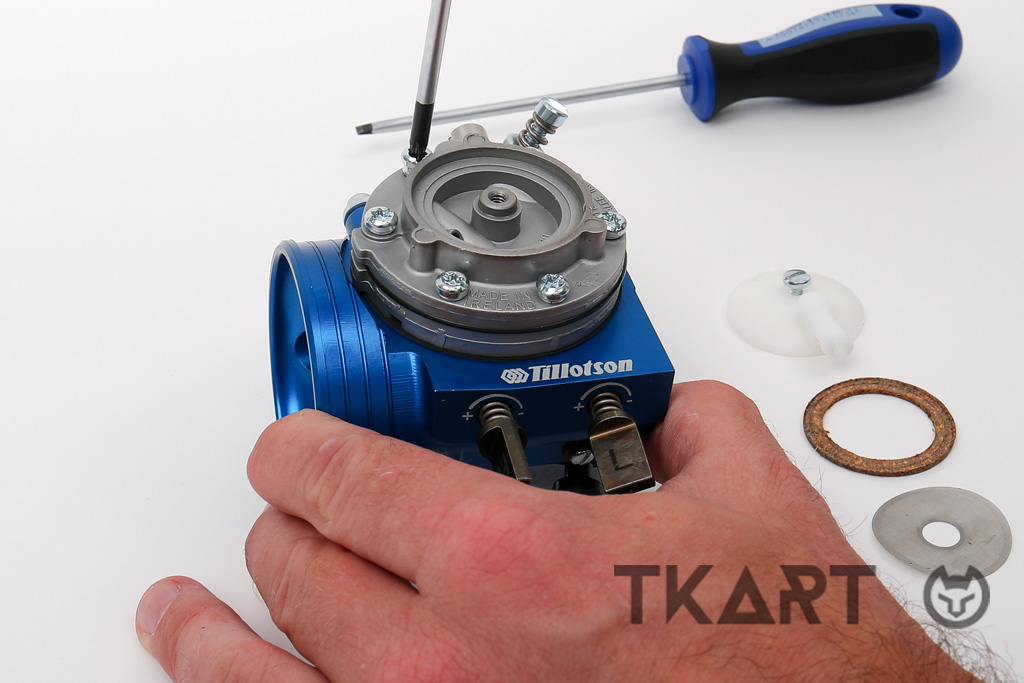
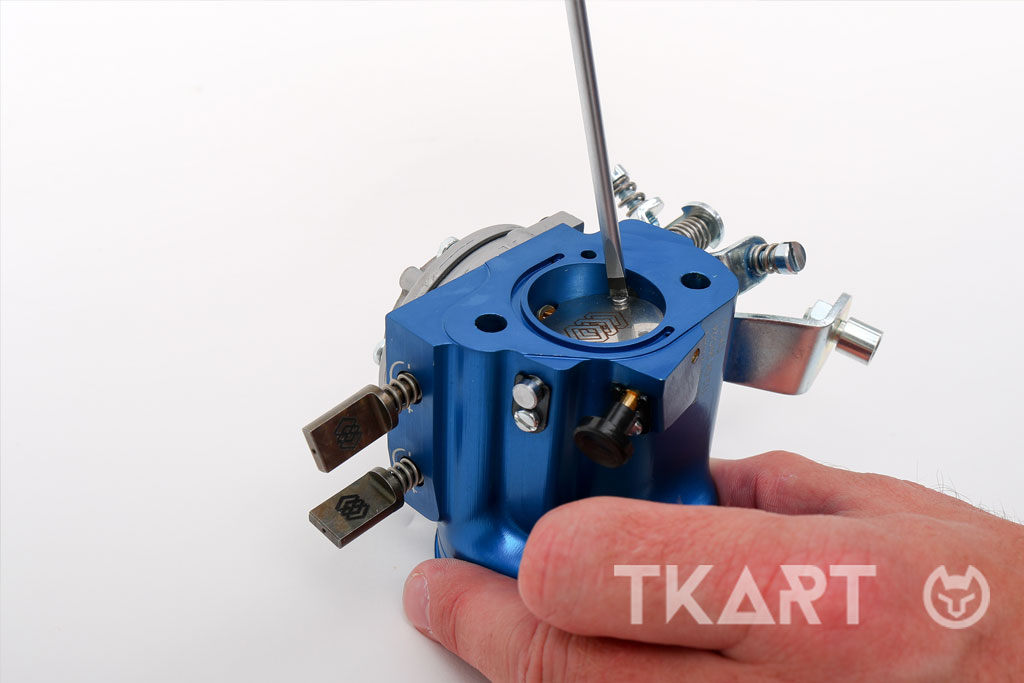
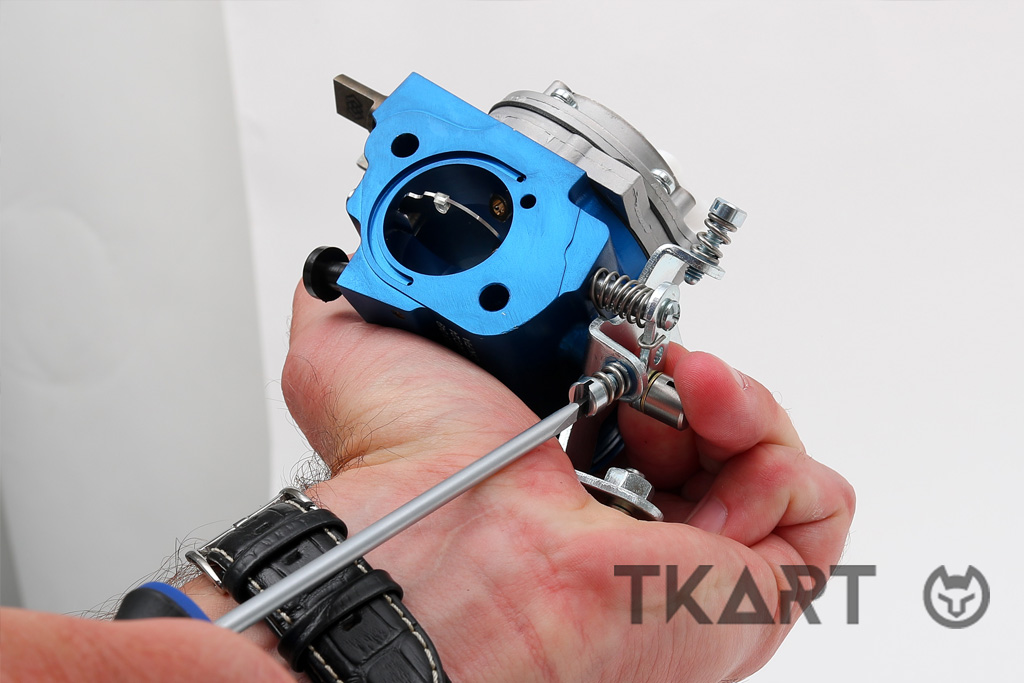
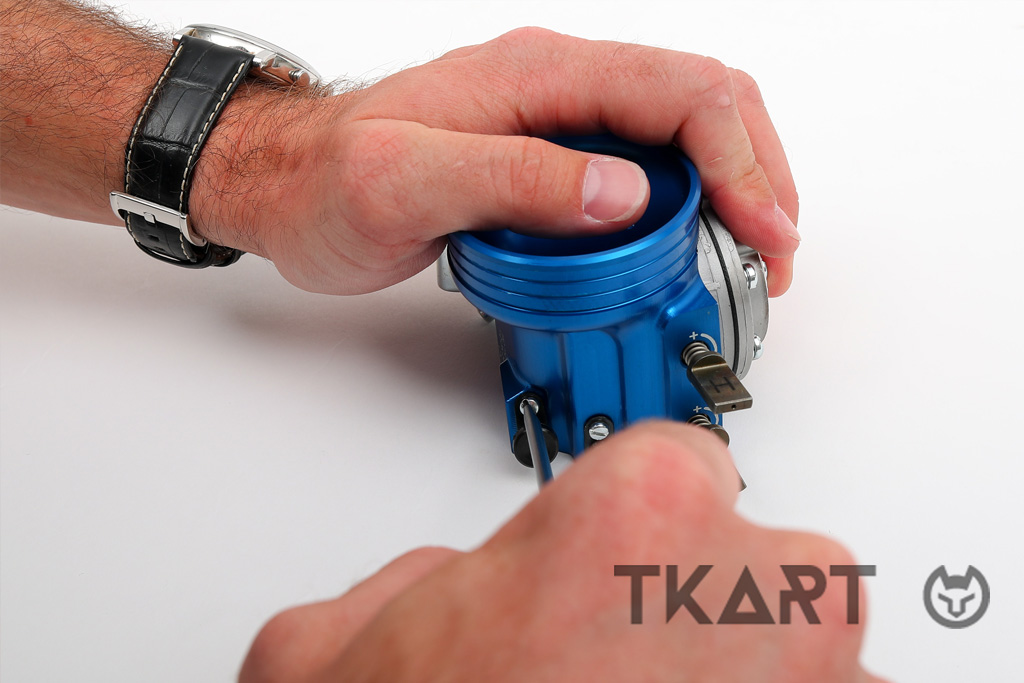
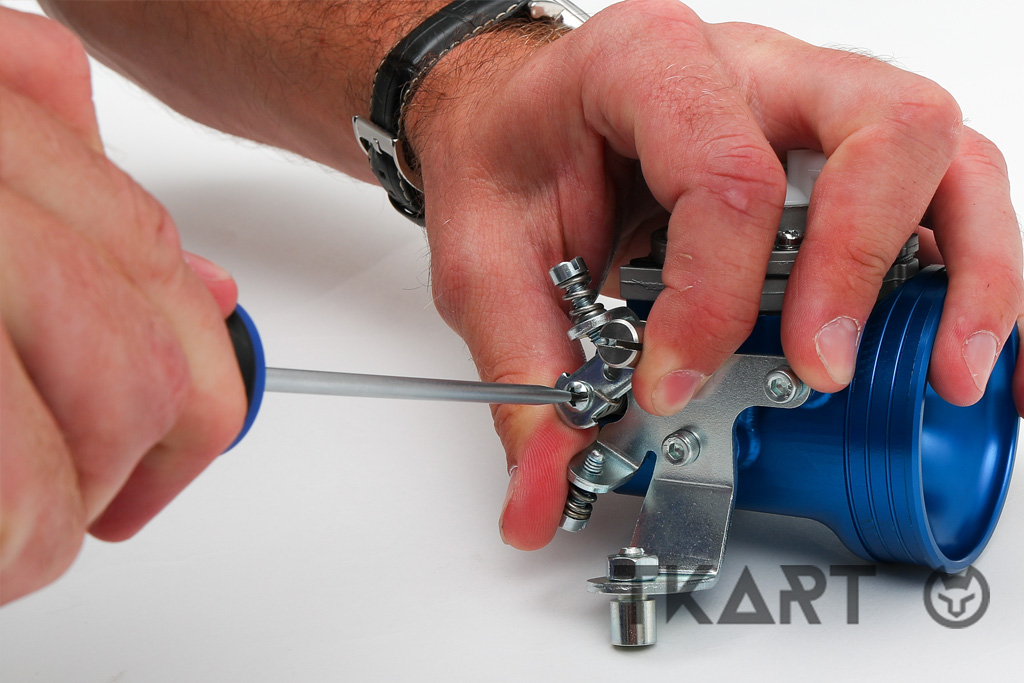
Check all external fixing screws that secure components such as the butterfly valve shaft and the throttle lever, the screws fixing the valve to the spindle and the stop adjustment screw using a flathead screwdriver.
You also need to make sure that the spindle is not bent due to, for example, incorrect throttle stop adjustment.
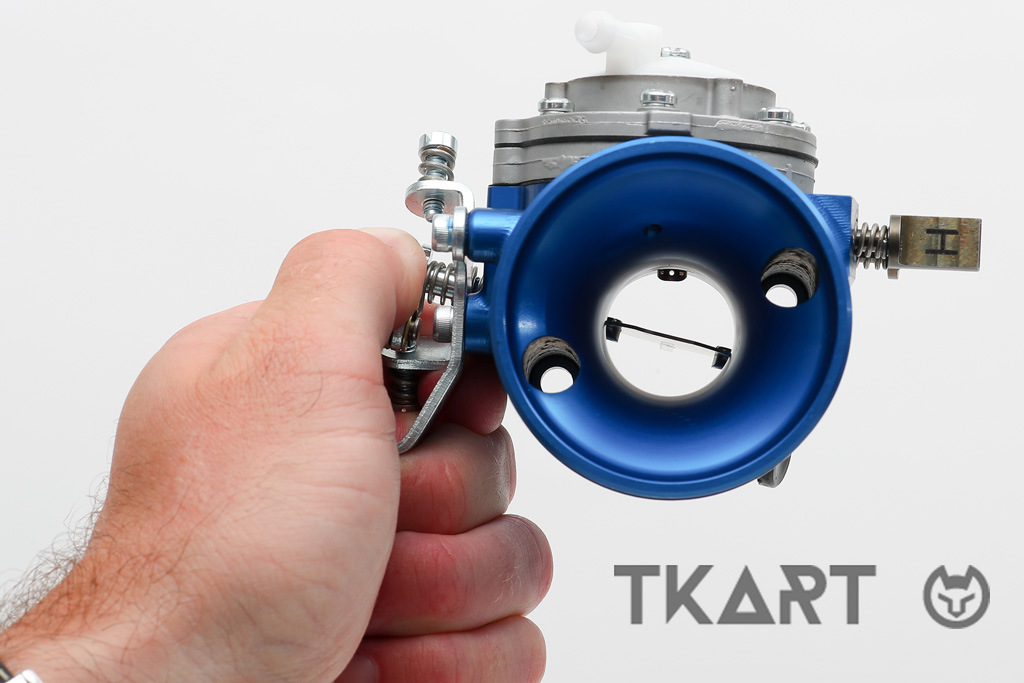
The check is carried out by looking inside the Venturi duct of the carburettor and verifying that the butterfly valve disc is perfectly horizontal.
If the butterfly valve is bent, then the spindle and/or disc will need to be replaced, depending on which one is warped.
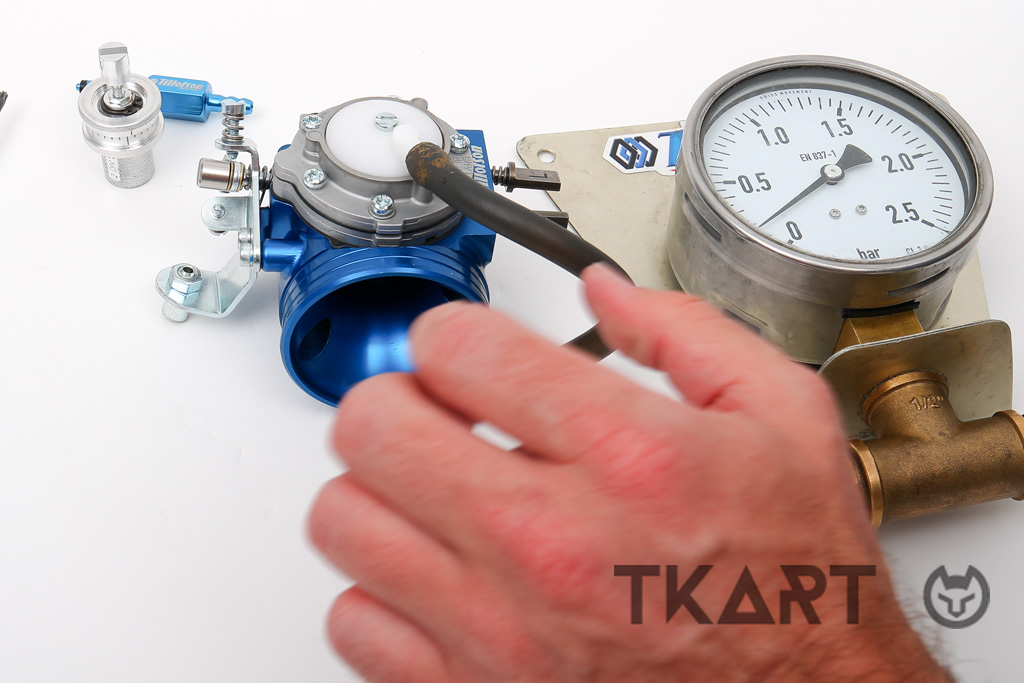
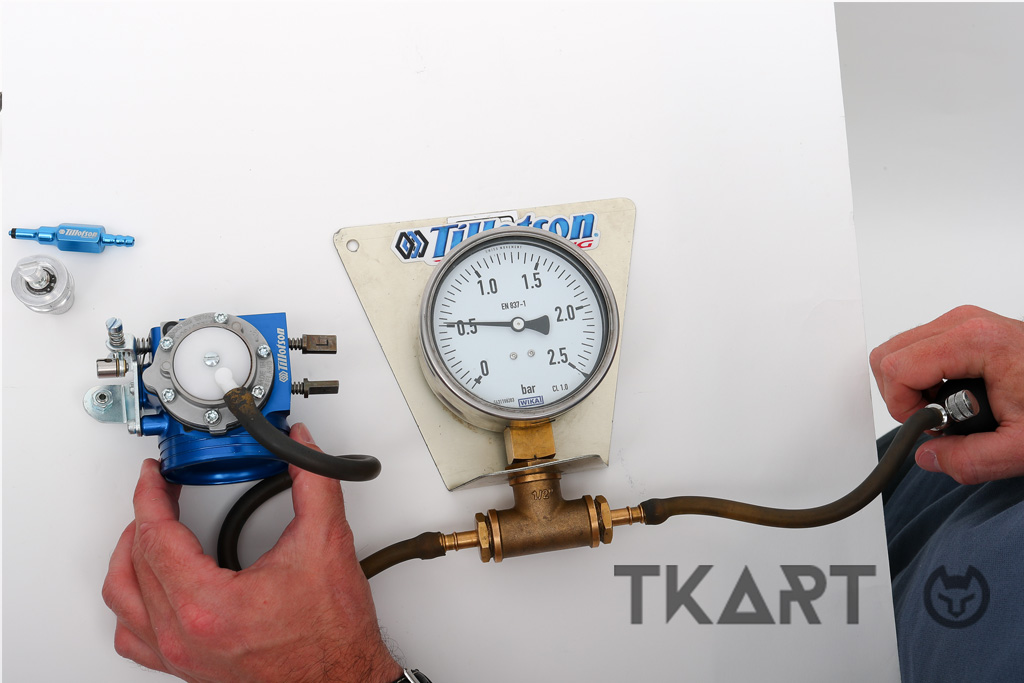
The next check concerns the pressure of the needle valve. You need to use a pump with a pressure gauge (Tillotson does not sell them, but other brands do) to measure the opening and closing pressure of the needle valve. To do so, connect the tube of the pump to the plastic cover where the fuel pipe is normally connected.
Then, slowly pump some air and check the peak opening pressure of the needle valve, i.e. the maximum point the pressure gauge needle reaches when pressing the pump.
Next, the pressure gauge needle will fall slowly. In particular, if the closure does not occur perfectly, i.e. if the minimum pressure indicated tends not to stop and falls below a certain threshold, it means that the needle of the needle valve needs to be replaced, since it no longer works properly.