Frequent Searches
Frequent Searches
The reed valves are placed in the front part of the engine block and perform the function of regulating the flow of the mixture within the cylinder. Physically they are made of thin carbon (or Vetronite) petals, whose opening and closing is regulated by the pressure generated inside the crankcase. When is it necessary to intervene to replace them? Let’s say that the main indication is that there must be some broken reeds and a loss of power throughout the engine’s rev range. Another clue is finding that the engine remains unaffected by any carburetion changes.

The replacement of the reed valves can also be done with the engine installed on the kart, but in order to work more comfortably the “doctor’s” advice is to remove it from the chassis, especially the first time you carry out this work autonomously.
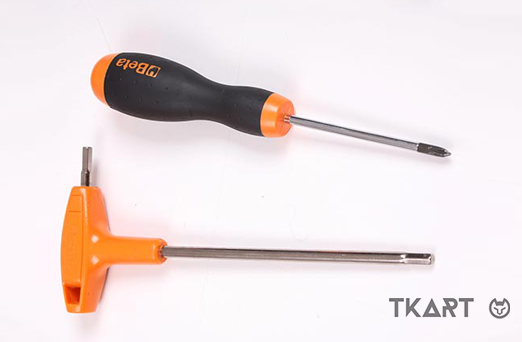
The first step is to remove the four screws that secure the suction conveyor: to do this you need to use a 5 mm Allen key, preferably a “T” key. Next, you can extract all reed valves from the conveyor-pack with your hands and separate it into its various components.
Now you can proceed with the actual replacement of the reed valves: with a cross-head screwdriver ensure the four screws (on each side) that fasten the stopper are completely unscrewed, in other words the reed valve limit. Once this is done, you can remove the reed valves and the carbon reinforcements on both sides. Take, the kit composed of reed valves, reinforcements and new sealing gaskets and prepare the assembly phase.