no results
Frequent Searches
"Axle"
"Tires"
"Setup"
"Caster"
"Seat"
"Carburetion"
"Carburettor"
Frequent Searches
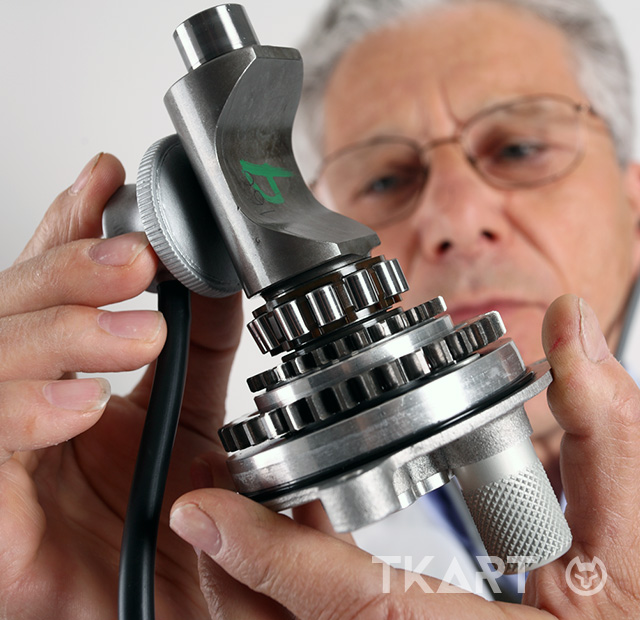


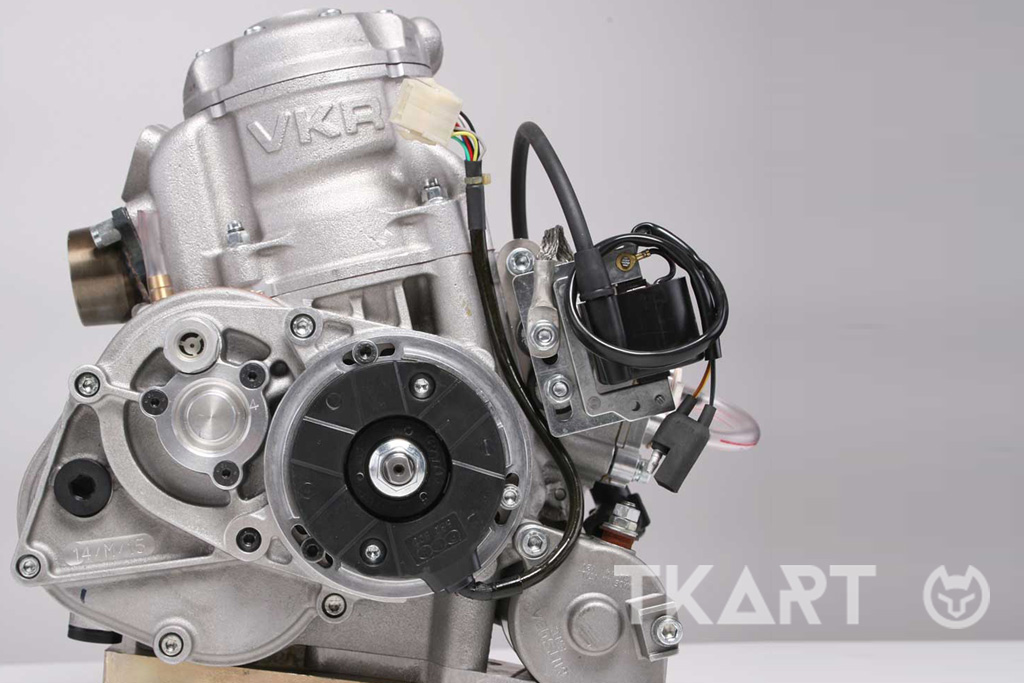
Already present on KF engines, which were first approved in 2007, the countershaft was also kept on the new OK and OK-Junior engines. What does it do? It dampens the very high vibrations generated by the single-cylinder engine. To ensure its efficiency, this component, which can affect engine performance, must be checked by the commissioners as soon as possible after the race, as well as periodically. It is therefore a good idea to see how it is disassembled and reassembled in a few short steps. In order to do this, TKART’s doctor has chosen Mauro Villa’s VKR engine, which is characterised by an ease of inspection. The steps carried out are more or less the same for all engines.
Typically, the countershaft is located in the external part of the engine, but it is better to remove the engine from the kart in order to disassemble and reassemble the component properly. In addition, removing the engine is compulsory for race checks and, in any event, it is not a particularly complex operation.
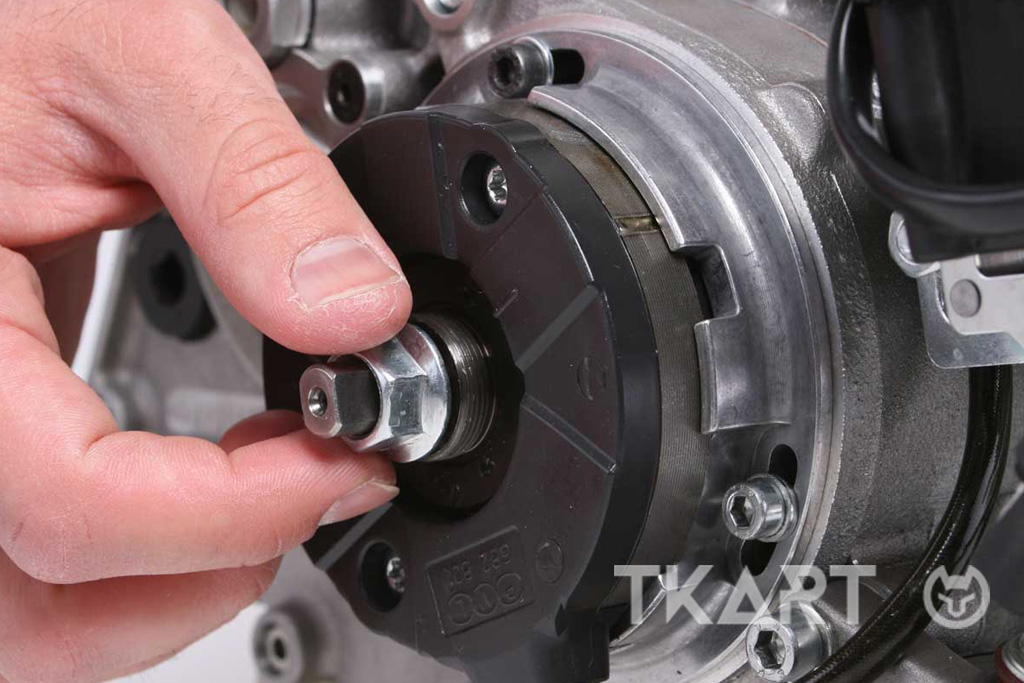
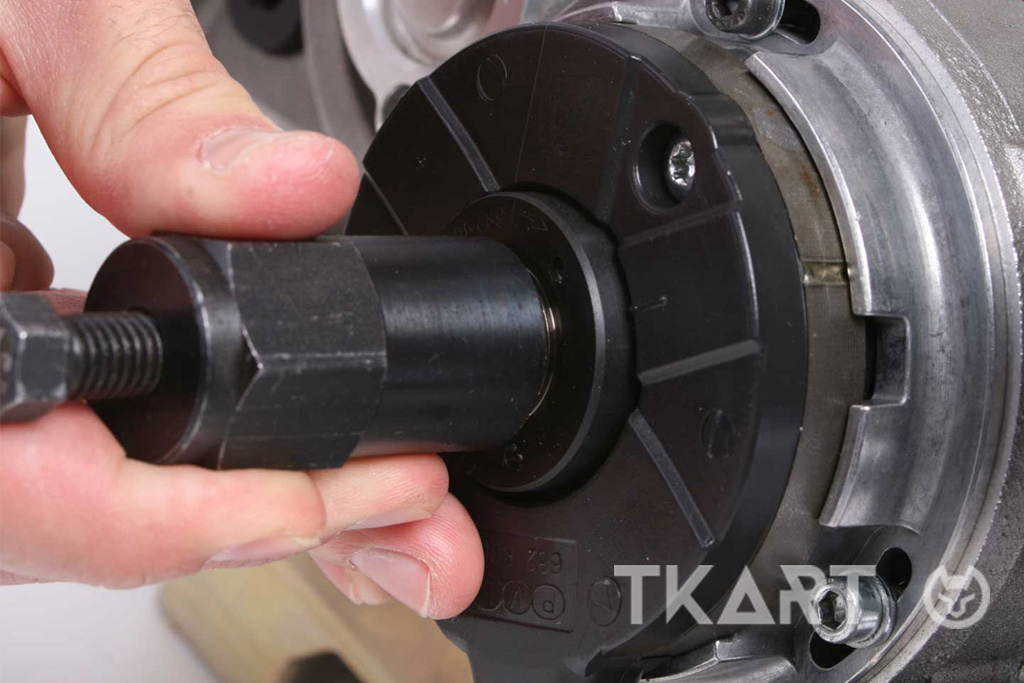
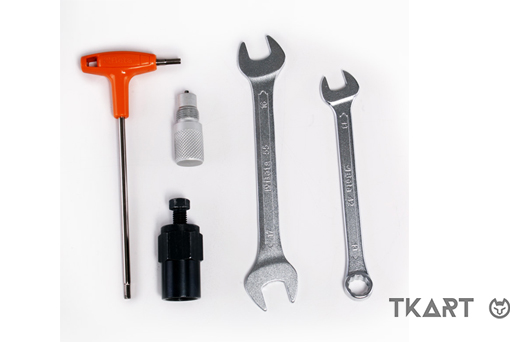
Once the engine has been removed from the chassis, the first thing to do is remove the ignition rotor: unscrew the locking nut, insert the specific extractor tool (purchased from the dealer of your engine’s make), then move it away from the crankshaft and remove it.