No results
Frequent Searches
"Axle"
"Tires"
"Setup"
"Caster"
"Seat"
"Carburetion"
"Carburettor"
Frequent Searches
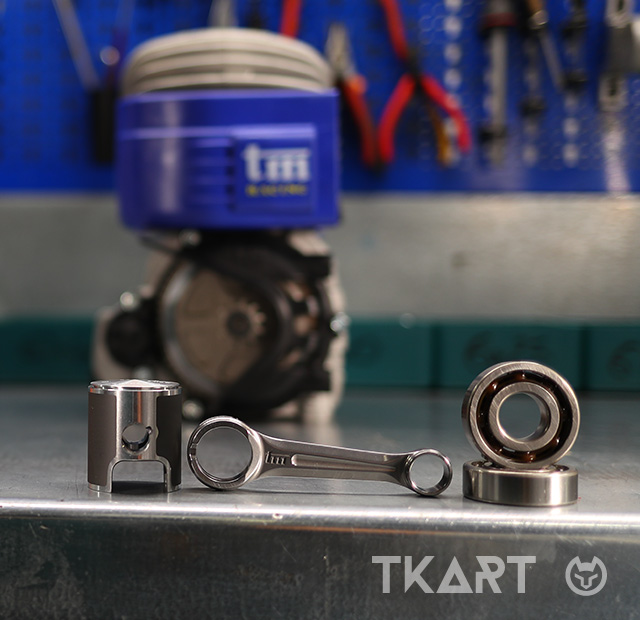


The complete overhaul of TM Racing’s Mini-class engine calls for the replacement of the piston, the main bearings and the connecting rod. But maintenance intervals may vary depending on the single components: for the piston and main bearings, it’s best not to exceed 5 hours of operation; the connecting rod, on the other hand, should be replaced roughly every 15 hours.
In this guide, Dr. TKART presents the correct steps in the disassembly and reassembly of a TM Racing Mini 2, but these steps are substantially the same for the majority of Mini-class engines.
Before disassembling the engine, we need to measure the squish and ignition advance settings. This will tell us their current values and, in the reassembly phase, allow us to reset them after the overhaul.
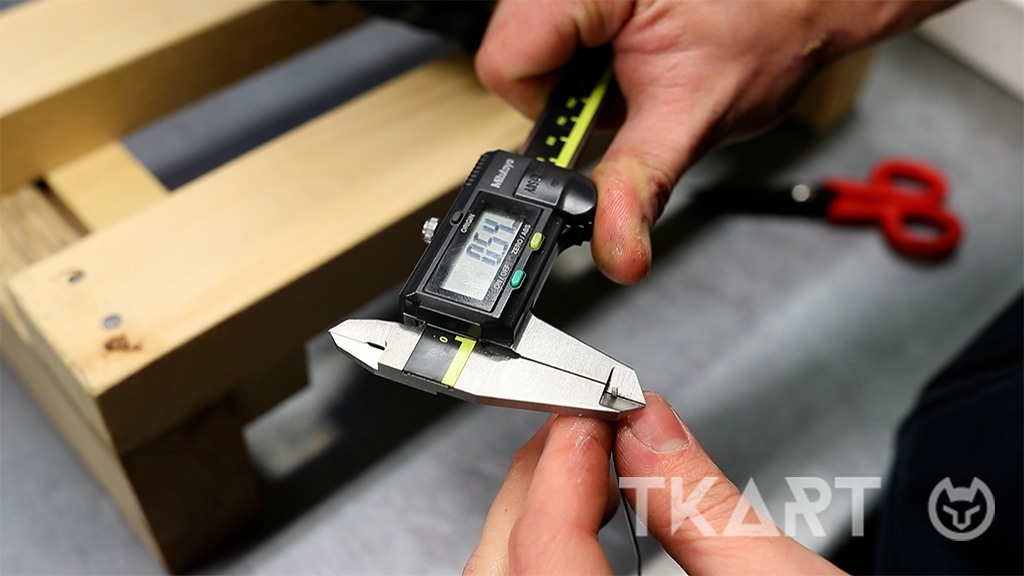
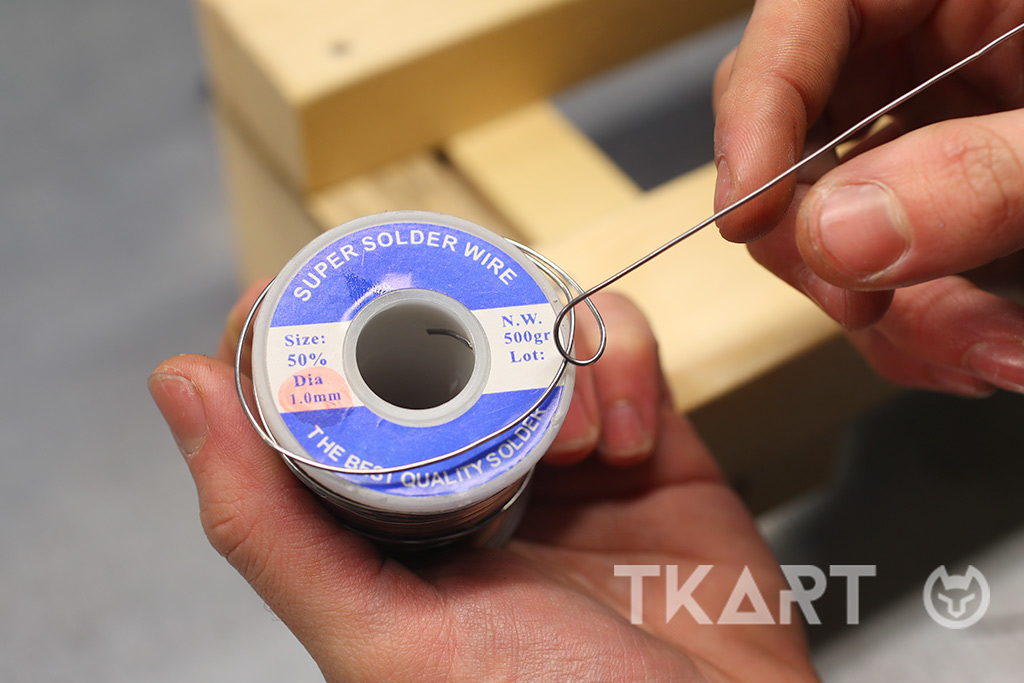
Squish is measured 1-mm-thick solder wire, a length of roughly 10 cm is enough. We move the piston to its lower dead point, turning the crankshaft by manually rotating the sprocket.
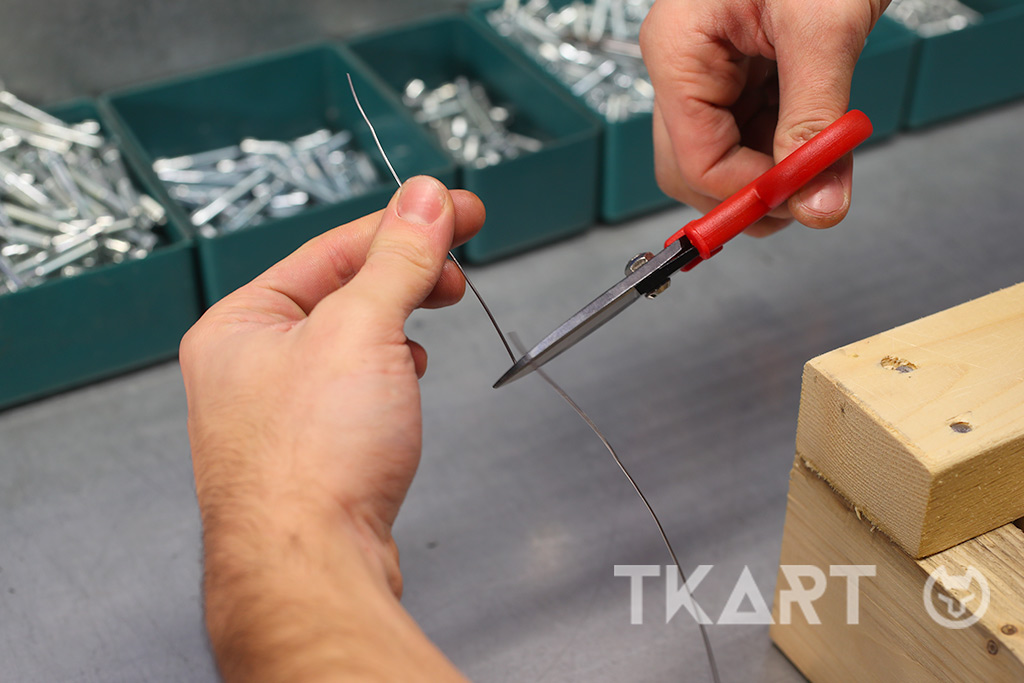
Then we insert the solder wire into the spark plug hole until it reaches the wall of the cylinder, and bring the piston to its upper dead point, crushing the solder wire. The thickness of the crushed solder wire between the piston and the cylinder head is the value of the squish, measured with a caliper. In the standard TM Racing Mini 2, the engine must have a squish between 0.5 and 0.55 mm.
Squish is a particular conformation of the inner part of the cylinder head, shaped like a slanted circular crown. This geometry optimizes the engine’s performance and is present in practically all competition kart engines. TKART has analysed these aspects in the technical article “The squish”. However, since even a tenth of a mm of difference in squish can cause significant variations in performance and engine reliability, we suggest you read the more in-depth piece “How to find the right measure of the squish”.