Choose the language.
TKART magazine How To | How to carry out bench power tests on kart engines - the basic guide (and the VIDEOS!)
1
Exclusive Content

HOW TO CARRY OUT BENCH POWER TESTS ON KART ENGINES - THE BASIC GUIDE

Giacomo Mantovani
21 May 2022
alt
alt alt
Advertisement
INTRO
After dealing with the topic of "engine test benches" (with the article "Dossier - Guide to power test benches for kart engines") and that of "test rooms" (with the article "Dossier | Everything about engine test rooms" ”), we are finally in the position of being able to carry out our first tests. Once again in our journey about engine testing, we have relied on the structure of the four-time world champion Alessandro Piccini (do you remember? "Once in a lifetime - The dream workshop exists, we have been there! ”), its hyper-equipped test room and its Dynojet 250i bench. A roller model, therefore with the possibility of installing the kart directly on it. Editor's Note: Unless you are already a moderate karting expert on this subject, we strongly recommend that you read the articles listed above before reading this one. Some concepts that were previously discussed have not been re-explained in the slides below: therefore there is a risk that you may not be able to understand some of the concepts
1 WHY CARRY OUT ENGINE TESTING ON THE TESTING BENCH?
The answer as to how important the bench testing phase is for an engine is provided by Giampaolo Borghi, of the well-known power test bench company Borghi & Saveri, hired by Ferrari over forty years ago to produce test benches suitable for testing their engines, he remembers a phrase that the engineer Enzo Ferrari himself said to him: “The test room is like the delivery room, it must always be functional. In the workshop we can tighten bolts, check the materials and perfect the bases, but when babies comes out of the womb, they go to the delivery room and that's where they begin to live ". And indeed the comparison holds. Because once an engine has been designed/built, rather than bought, if the goal is to "make it develop" (in terms of performance and reliability), the only way to get tangible and valuable results is to carry out bench testing in a testing room. In fact, this allows, on the one hand, starting races with objectively performing engines. On the other hand, performing bench testing allows you to create a solid data base (at the carburetion setup level or the engine), ready to be consulted if necessary on the track, depending on the conditions you are facing. without having to waste too much time in the field or carrying out modifications by trial and error. Thanks to this "How to" we will guide you step by step through the basic steps to optimise time, take advantage of every minute and make every penny you spend worth it during your bench testing.
alt
Some examples of test benches for various types of engines.
2 PREPARATION
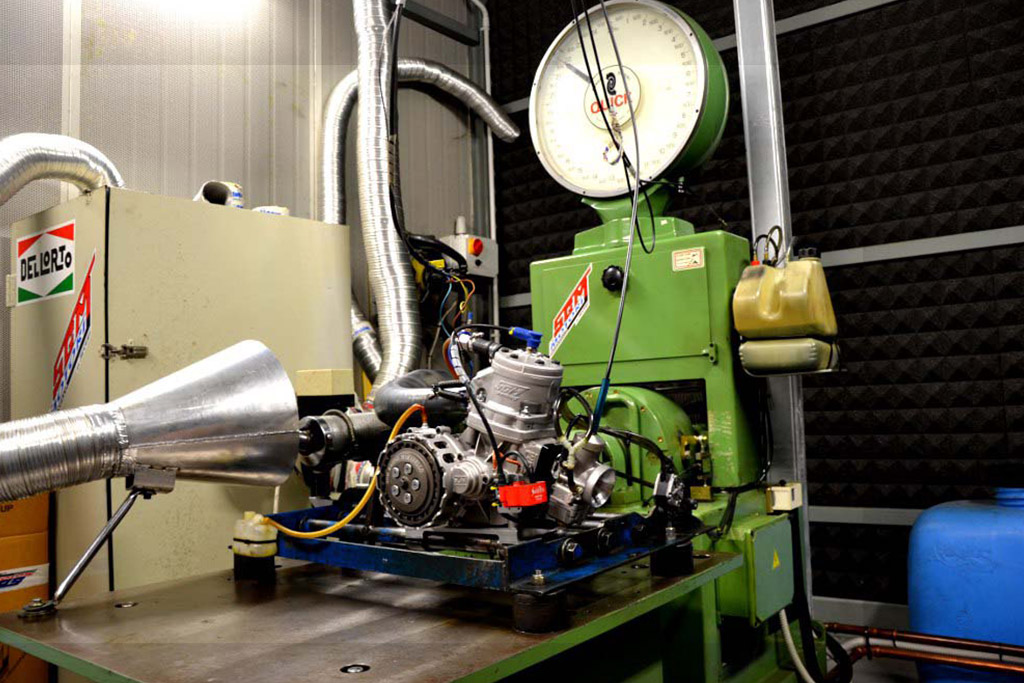
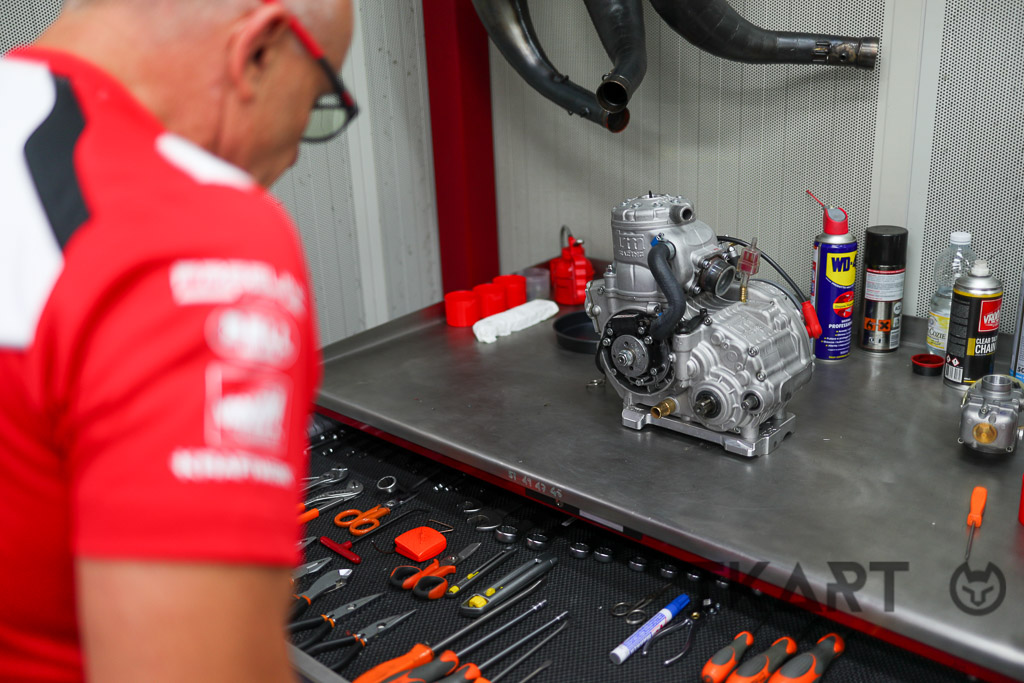
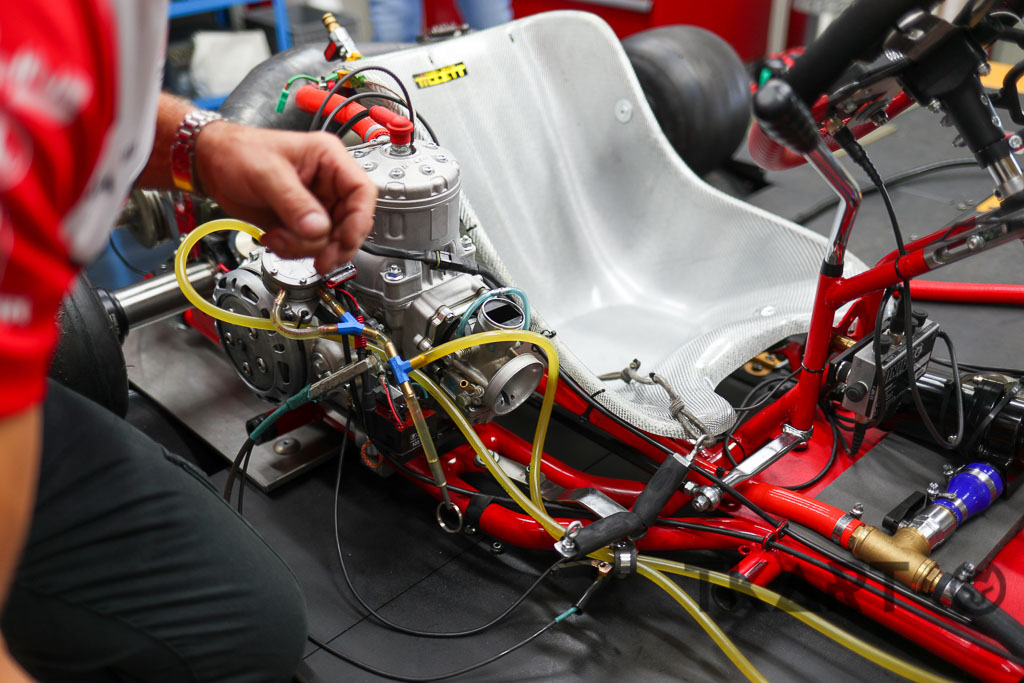
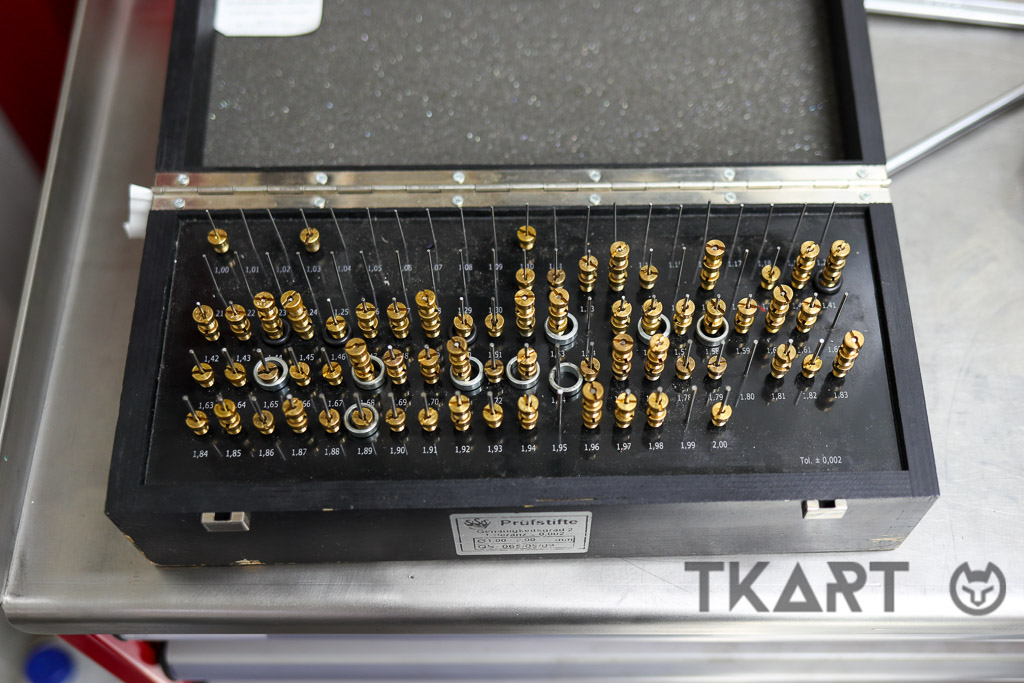
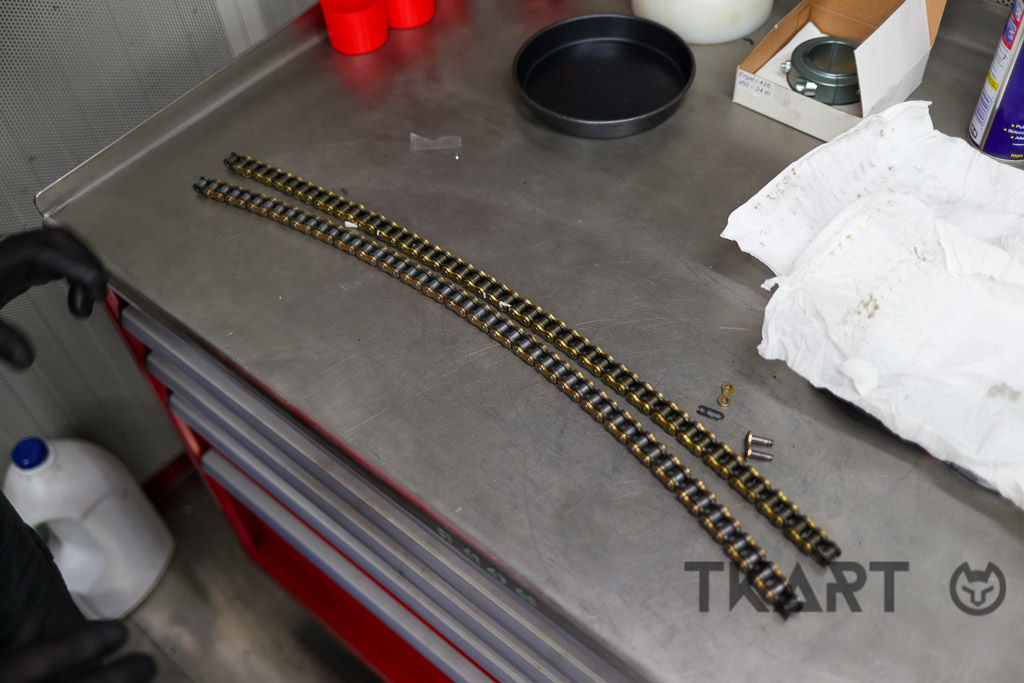
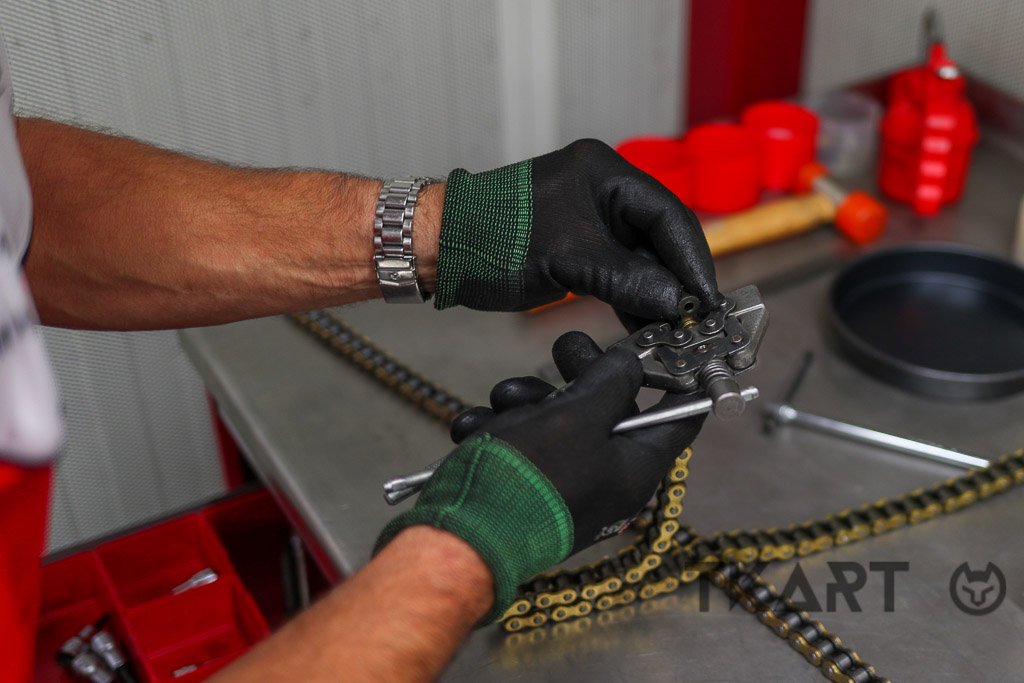
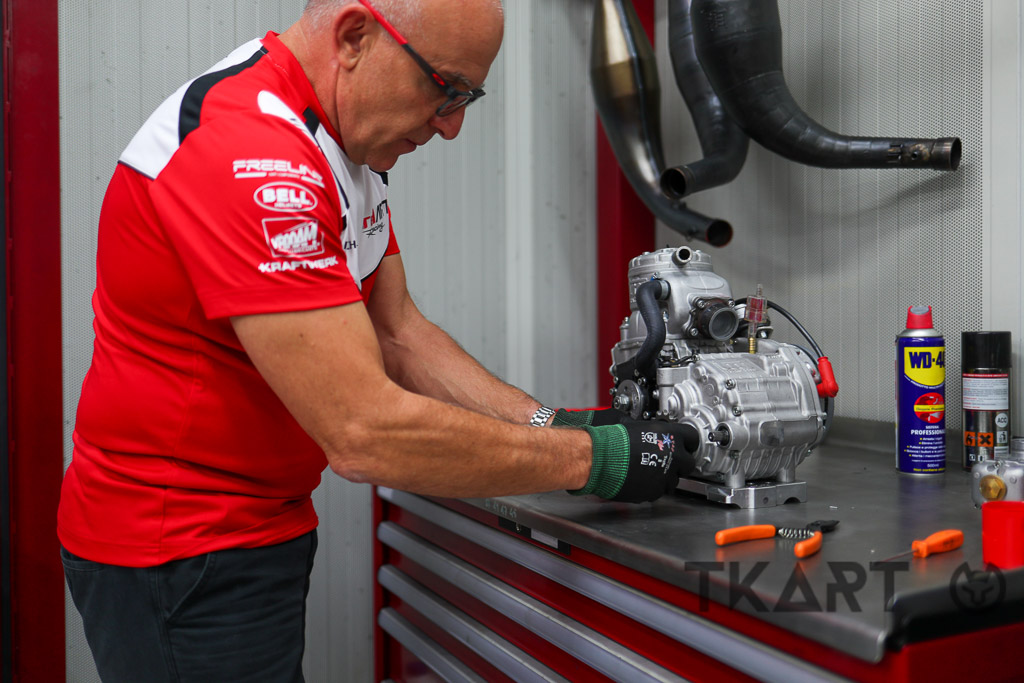
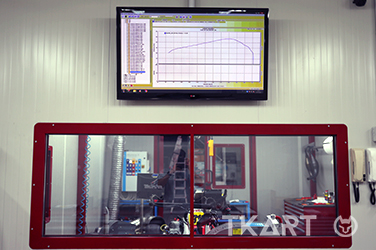
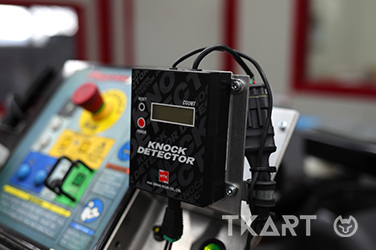
Once the right test bench has been selected, the area and engine must be prepared in order to have everything (components and tools) at hand during the session. Never as in this case is it the time available that makes the difference. First of all, we strongly recommend that you have all the engine components available at the bench in a completely clean condition and, if possible, with a limited state of wear. This is both to obtain better data and to ensure greater reliability of the engine, which will be subjected to great mechanical stress during the testing. However, as regards the general set-up it is important to note at the beginning of the testing all of the main characteristics (carburetion, squish, any advances, crankshaft used, etc. etc.) and update the records with each modification, in order to have always the exact situation, in every detail, of the engine being tested. This information will be very useful when evaluating and interpreting the data recorded during the testing. In our case, the selected test bench detects and saves the atmospheric values, as well as the main engine operating values, in general: rpm, engine temperature, power and torque. Bear in mind, however, that other types of data can be detected, thanks to additional probes that can be wired: in other words the bench options. However, as regards the ratio to be used, it should always remain the same, even between different tests. Any ratio can be ok, but usually we tend to prefer one that is neither too short or too long, in order to remain within an average range of use. The important thing is that the sprocket-chain-gear wheel coupling is optimal, therefore with components that offer an equal level of use and tend to be new or not very worn.
alt
In the event that you opt for a test room with an air-conditioned environment, it is essential to ensure that you have everything you need close at hand in the work area, in order not to "pollute" the atmosphere and obtain data that is as realistic as that of the conditions to be simulated.
alt
Does using used or new components make a difference? The answer is in this photo, in which you can see how much the one above on the right remains much tighter than the other that arches more laterally, a sign, in fact, that in the latter the meshes have acquired more play due to the albeit limited usury.
alt
Preparation phase of a new chain, made to measure, to carry out testing on the power test bench.
alt
A new chain-gear wheel-pinion coupling is preferable.
Continue reading the article by subscribing for only 0.96 € / week
4
Explore these and many other
premium contents
Go to Magazine