No results
Frequent Searches
"Axle"
"Tires"
"Setup"
"Caster"
"Seat"
"Carburetion"
"Carburettor"
Frequent Searches
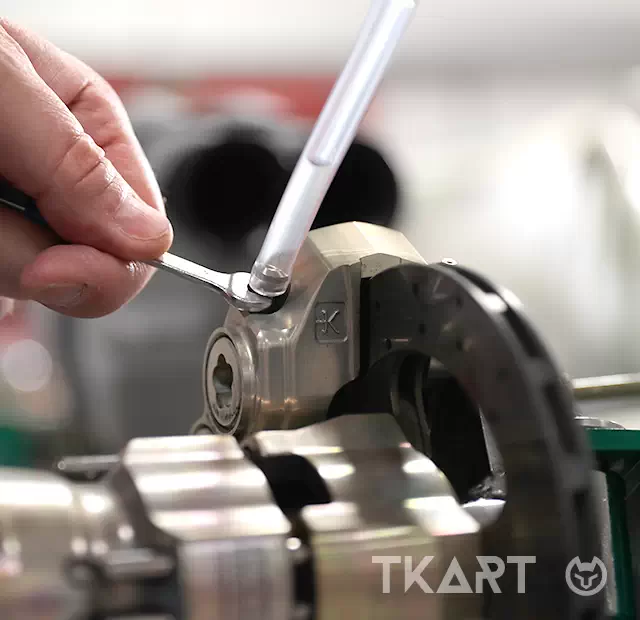


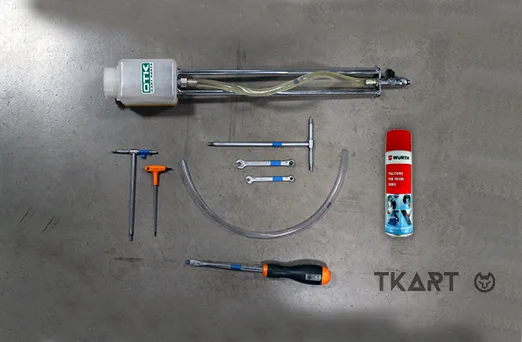
"Bleeding the brakes" (this is the jargon term), or the removal of air bubbles in the hydraulic circuit of the braking system is a very important practice, both for safety reasons and for track performance. In the world of kart racing, at a professional level and during race weekends, the brakes are bled at the end of each day, to always have the braking system in optimal condition. Even recreational drivers can bleed occasionally to ensure brake pedal response is always as sharp and immediate as it should be. However, regardless of the level of competition in which you participate, this activity must be carried out when two particular conditions occur: changing the pads or when the disc is too worn or broken and must therefore be replaced. In general, however, the sensation that the driver feels when it is necessary to bleed the brakes is that the pedal extends its stroke, becoming "spongy" when pressed.
Editor's note
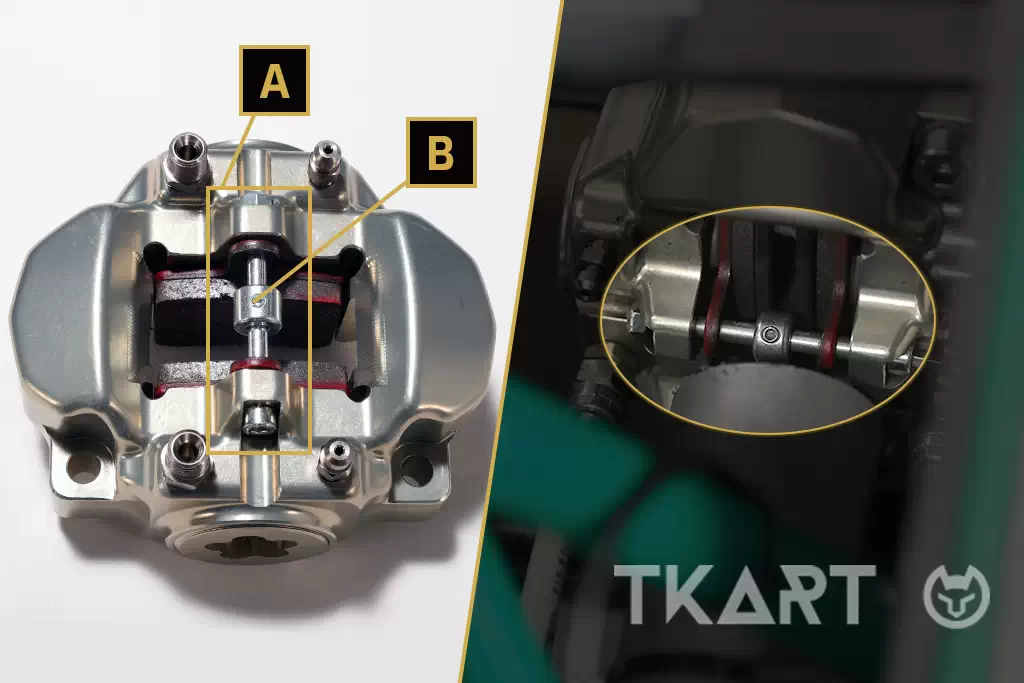
The system used in this article to describe the various work steps is a BSS (FIA 012-B4-18 approved by the OTK Kart Group), installed on a Tony Kart Racer 401 RR Shifter chassis (for further information, “Under examination | Tony Kart Racer 401 RR, the KZ world champion chassis), therefore also equipped with brake calipers on the front axle. However, the activitites described can be extended and applied to most of the braking systems (of different brands) on the market and, obviously, to all the brands of the OTK Kart Group, in addition to Tony Kart (Kosmic Kart, LN racing Kart, Exprit Karts, Gillard Karts, Redspeed Karts and EOS Karts.
As we have said, bleeding the brakes is carried out in three circumstances:
1. As a simple preventive check or when the driver feels that the brake pedal is “spongy”
2. When changing brake pads
3. When changing the brake disc.
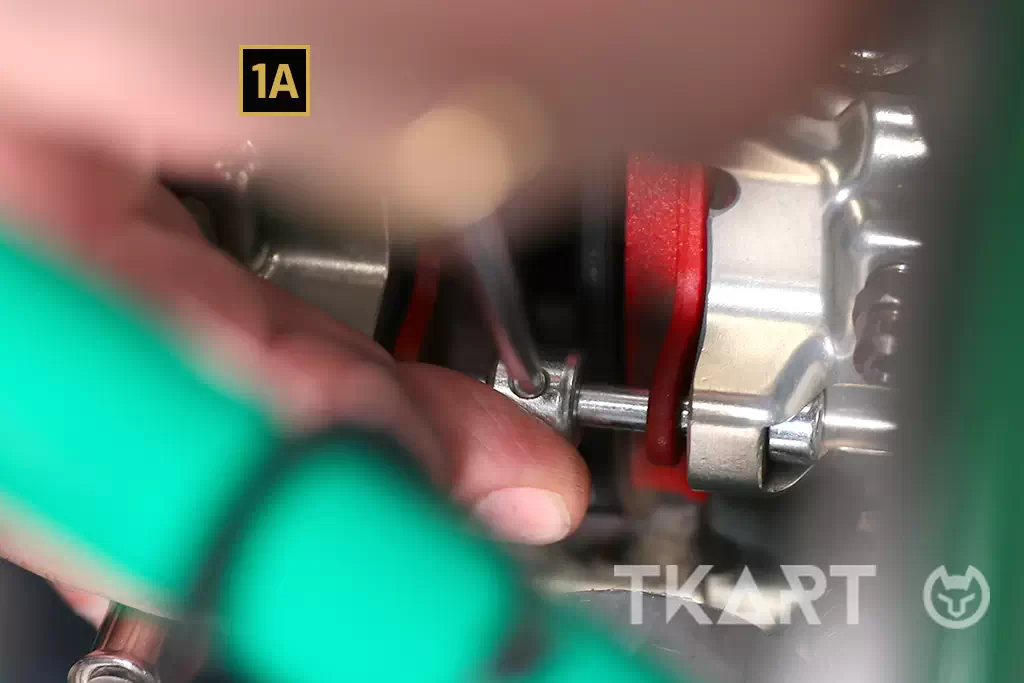
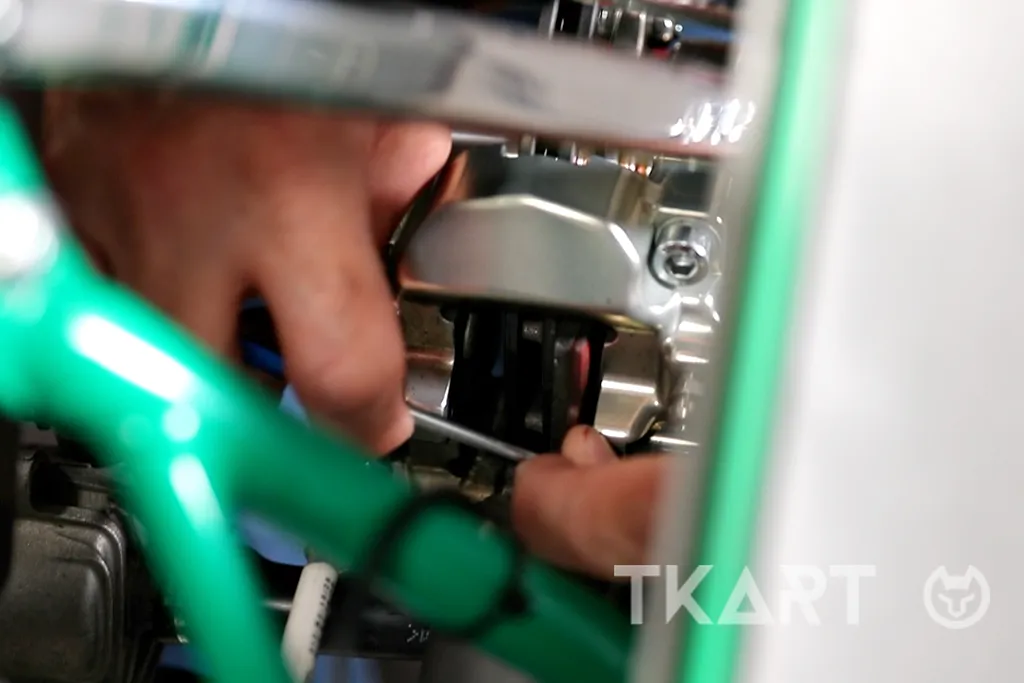
These are three cases with an increasing degree of complexity in terms of the work to be carried out. We have analysed the intermediate one (bleeding following the pad change) which involves, as you will see, the need to enlarge the pistons in the calipers: it is precisely in this step that air can enter the system.