Frequent Searches
Frequent Searches
I t happens: an unintended clash, a sudden one-eighty spin... and there goes your front end, your kart’s weakest and most exposed part. When this happens, the greatest damage ususally concerns the pedals and relative support bolts, which are (fortunately) softer than the rest of the frame. In this case “replacement” is the word.
The other common reason for changing the pedals on your kart is to accomodate for a growing child. Now, a change in leg size requires adjusting the distance between the seat and the pedals; but since shifting seat position is a rather complex operation that affects the kart’s overall set-up and balance of forces, it’s easier to install different pedals. Apparently quick and easy, the “job” actually does require some skill, especially in the final phases, when you have to adjust the throttle cable and the brake rod.
Let’s follow our “Doc” as he illustrates the process, step by step.

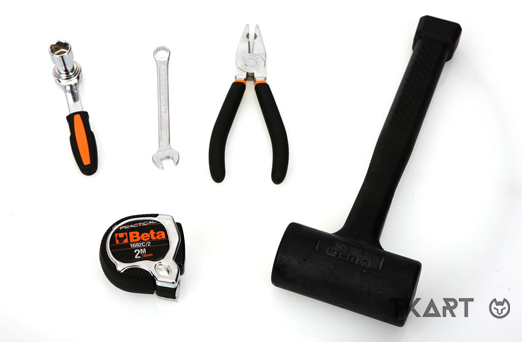
The first thing to do is remove the front fairing (which is usually secured by snap-fit attachments). If you wish to work with extra comfort, you can also go ahead and remove the nose cone (all it takes is looseing up three screws). Next, arm yourself with your 13 mm ratchet key and unscrew the pedal’s lock bolt. You might have some trouble if the bolt is bent. In this case, help yourself with the rubber mallet and the Allen key (using it as a chisel).