No results
Frequent Searches
"Axle"
"Tires"
"Setup"
"Caster"
"Seat"
"Carburetion"
"Carburettor"
Frequent Searches
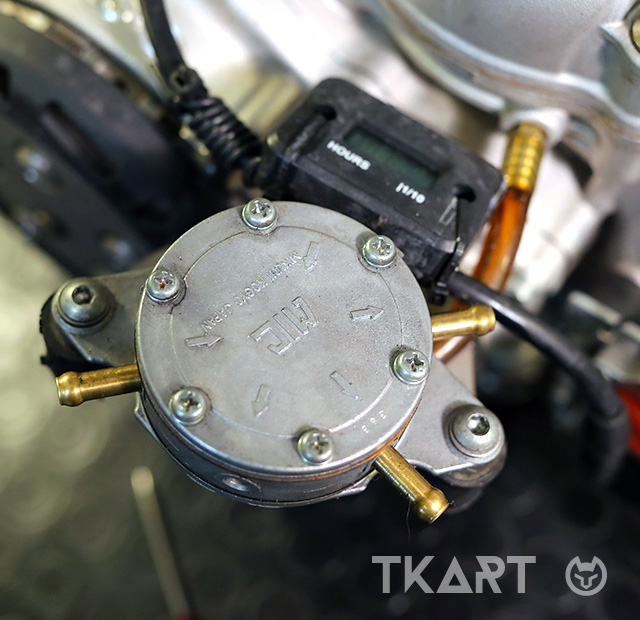


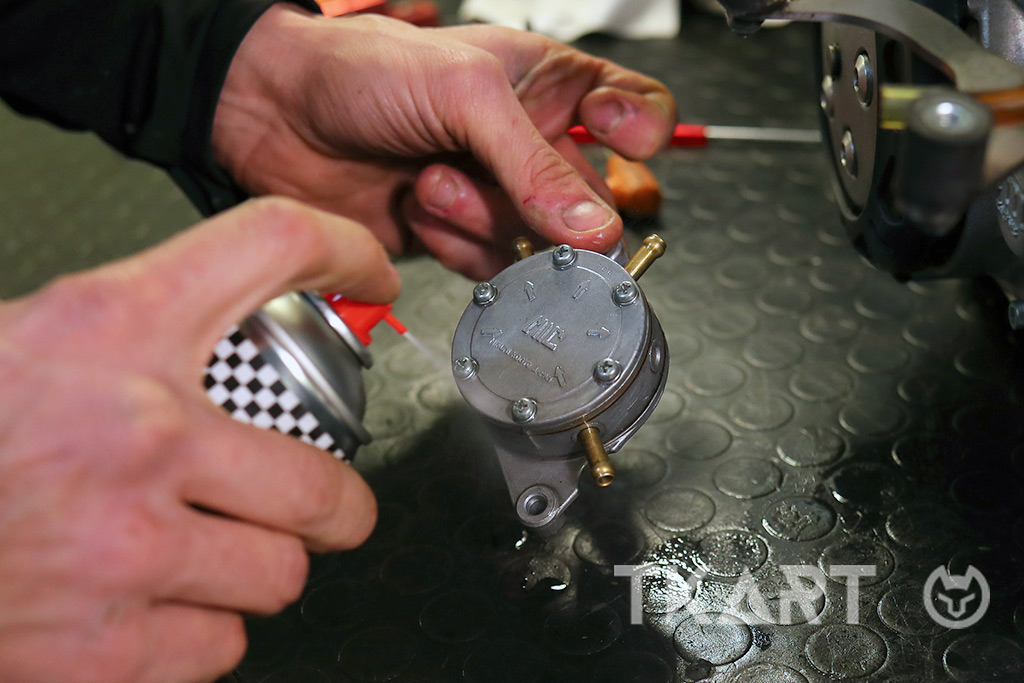
The petrol pump is an accessory that is necessary when using carburetors commonly known as “float bowl” carburetors. Unlike diaphragm carburetors, which have an internal diaphragm, as the name suggest, they require a pump to guarantees the right amount of petrol at all times.
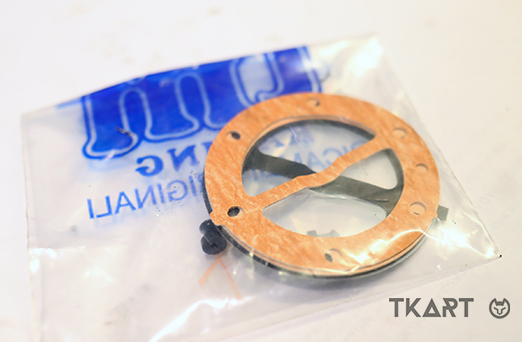
The pump operates through a system of diaphragms that exploit the pressure and vacuum created by the movement of the piston in the engine. However, the diaphragms are subject to wear and should therefore be periodically replaced. Dr TKART explains how to perform the entire overhaul procedure, using a Mikuni DF52-176 pump, which is one of the most commonly used by karting enthusiasts.
The first task is to remove the pump from the kart’s engine, which makes it easier to work in the opening and cleaning phase. Proceed by removing the tubes of the two outlets, then the tube of the fuel inlet and the tube connected to the engine, from which the pump senses the vacuum generated by the movement of the piston.
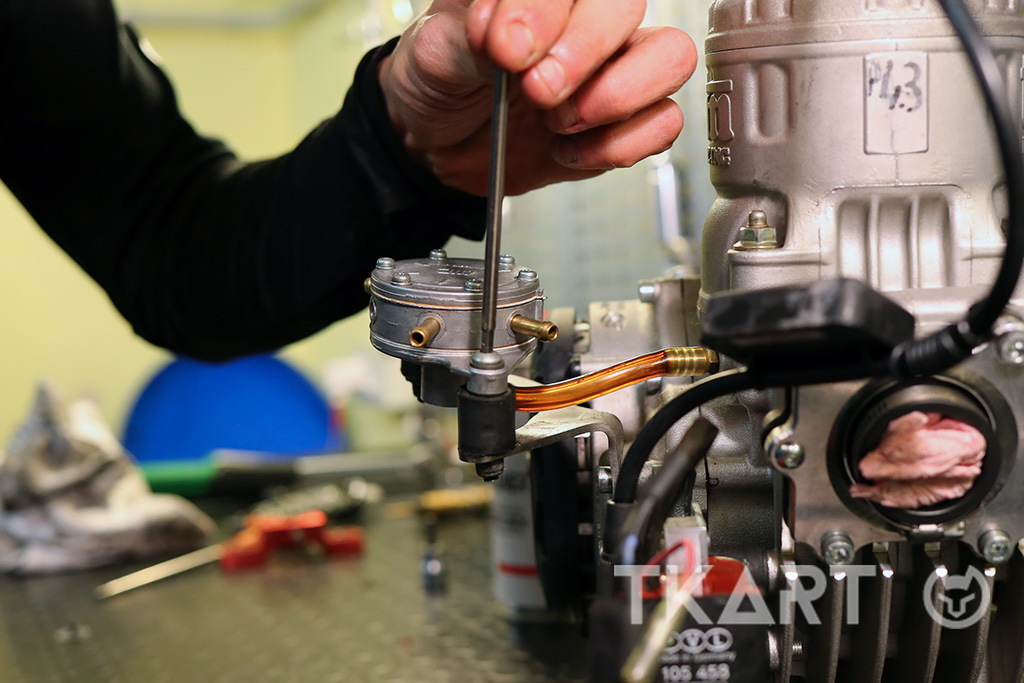
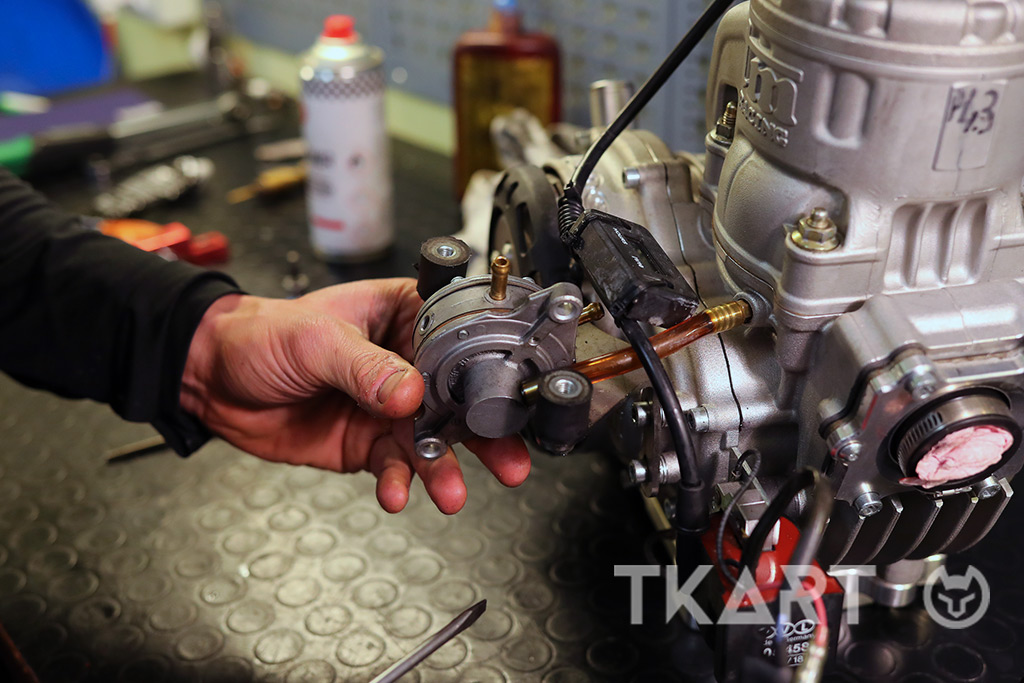
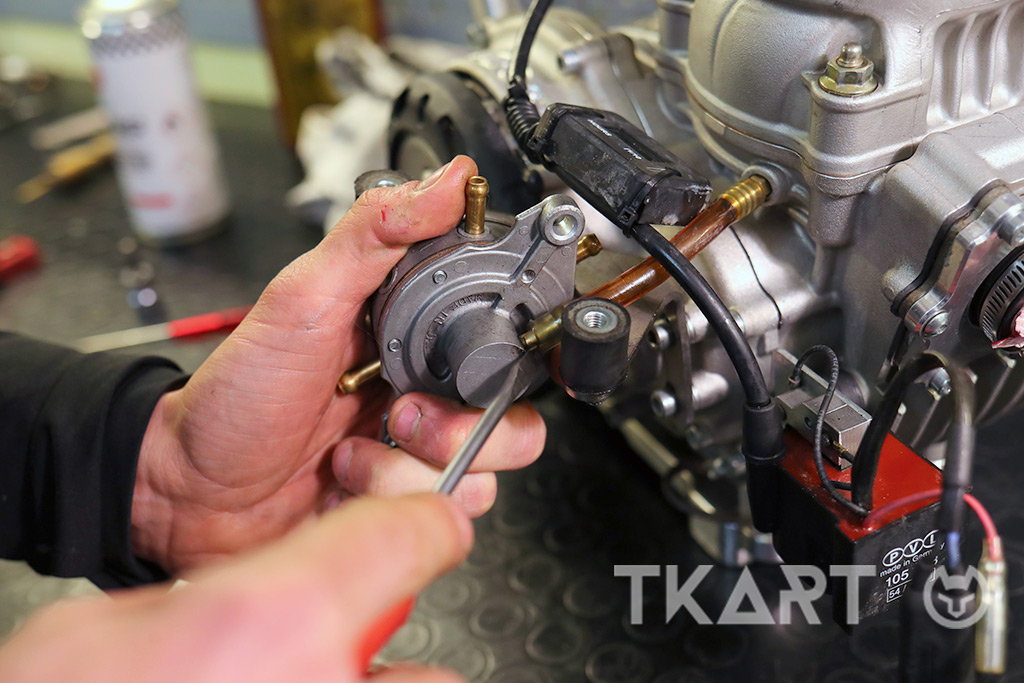
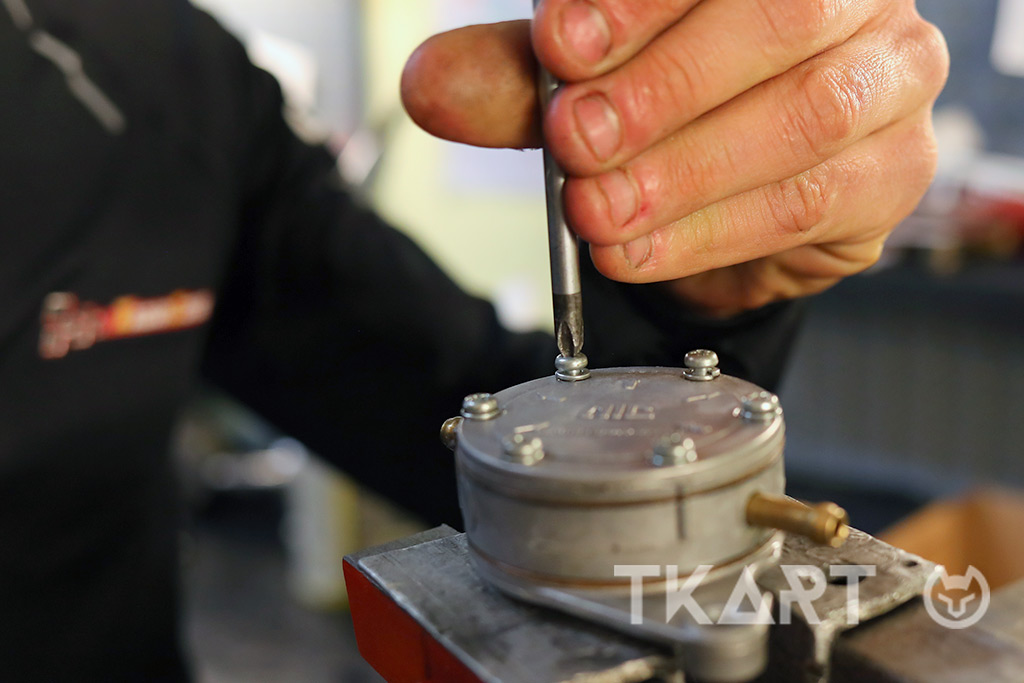
Once the pump is completely free, cleaning the outside using brake-cleaner. Then, position the pump in a bench vice to facilitate opening it.
Use a cross-head screwdriver to remove the six fixing bolts, progressively unscrewing them to loosen them all together.
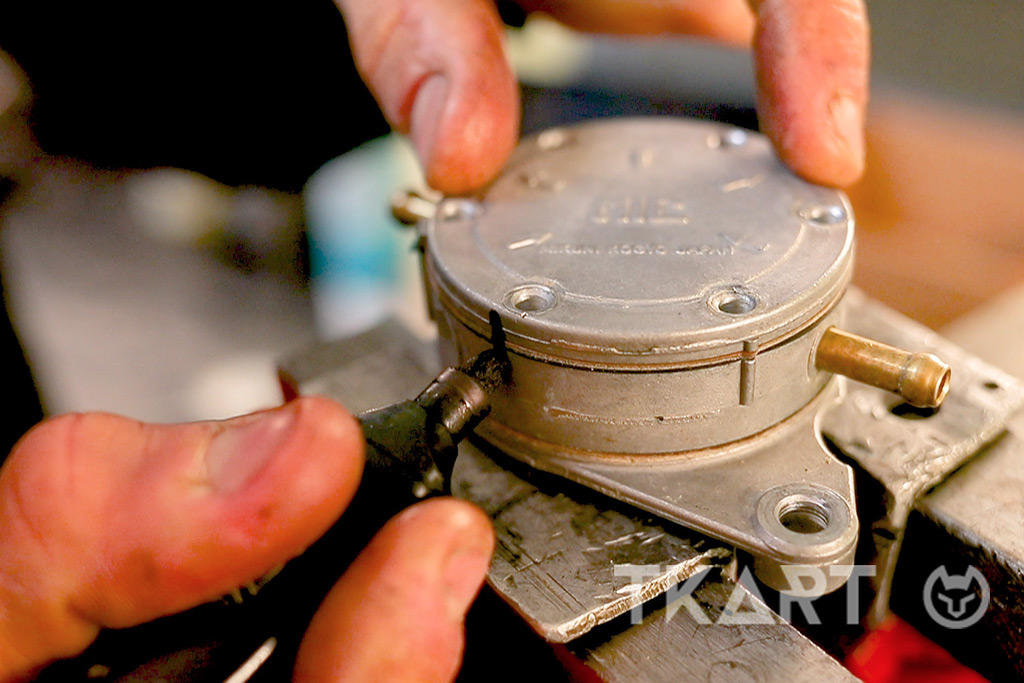
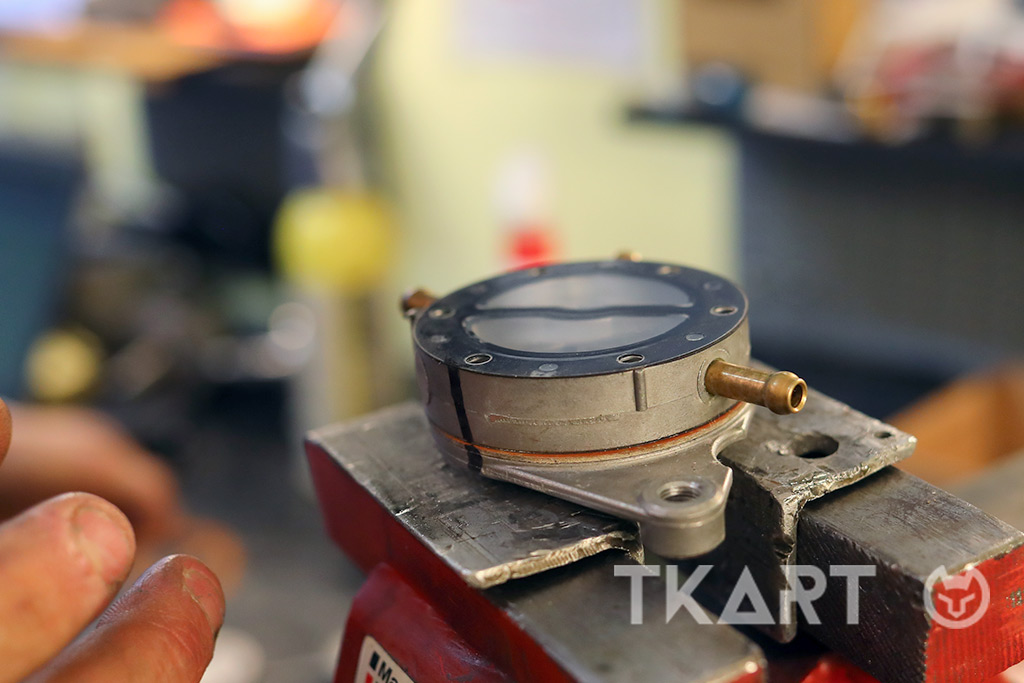
To avoid subsequently refitting the pump incorrectly, we recommend using a marker pen to mark the position of the cover with respect to the body of the pump, so as to be sure that the indications of the entry and exit holes, shown on the surface of the cover, are actually correct. At this point, you can remove the top cover of the petrol pump.