no results
Frequent Searches
"Axle"
"Tires"
"Setup"
"Caster"
"Seat"
"Carburetion"
"Carburettor"
Frequent Searches
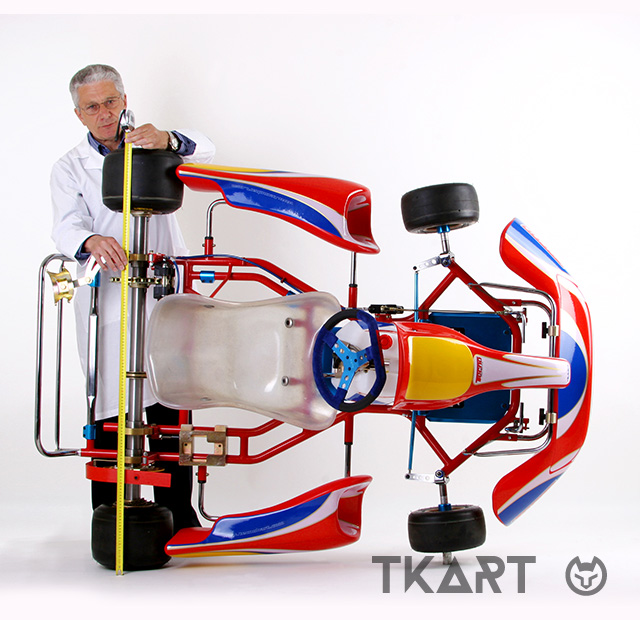


The track width is the distance between the wheels of an axis, measured from the outer edges. Many motorsport classes have maximum values established by regulations: the limit in karting is 140 cm. Track width measurements are very important parameters for the set-up of a kart and its behaviour out on the track, to the extent that “narrowing” and “widening” are tasks that all enthusiasts find themselves performing right from the very start. Although front and rear tracks are always linked and influence each other, generally speaking the wider the front the greater the increase in grip; the more you narrow, the more the kart will understeer. The opposite occurs at the back: widening the track width decreases grip; narrowing it increases grip. TKART has analysed all of these effects by performing track tests that are available on the dedicated channel. In this article, Dr TKART explains how to check and modify the track widths on a kart.
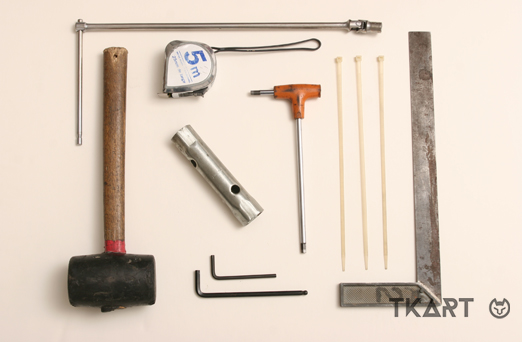
Before beginning, it is important to clean all the areas on which work needs to be carried out: working on a dirty axle and try to slide the hubs on it could end up damaging the axle and making any adjustments difficult.
Once everything has been cleaned, work can start on the track widths, starting from the back one.
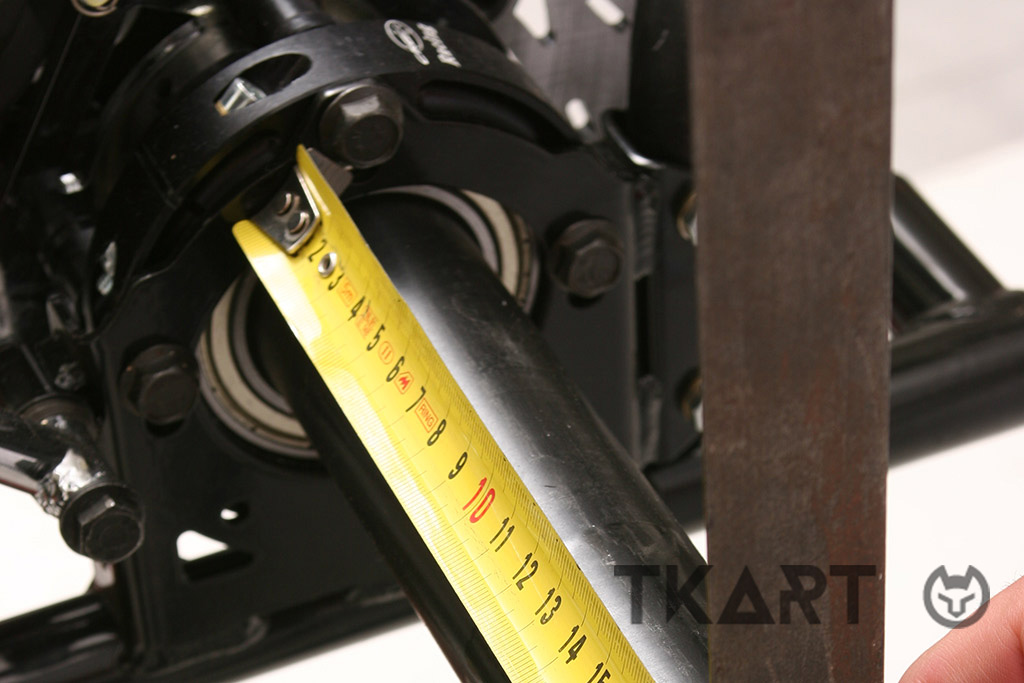
Firstly, check that the axle is symmetrical to the centre of the chassis by measuring the distance between the outer edge of the bearing carrier and the end of the axle.
Naturally, the measurement must be the same on both the right and the left.
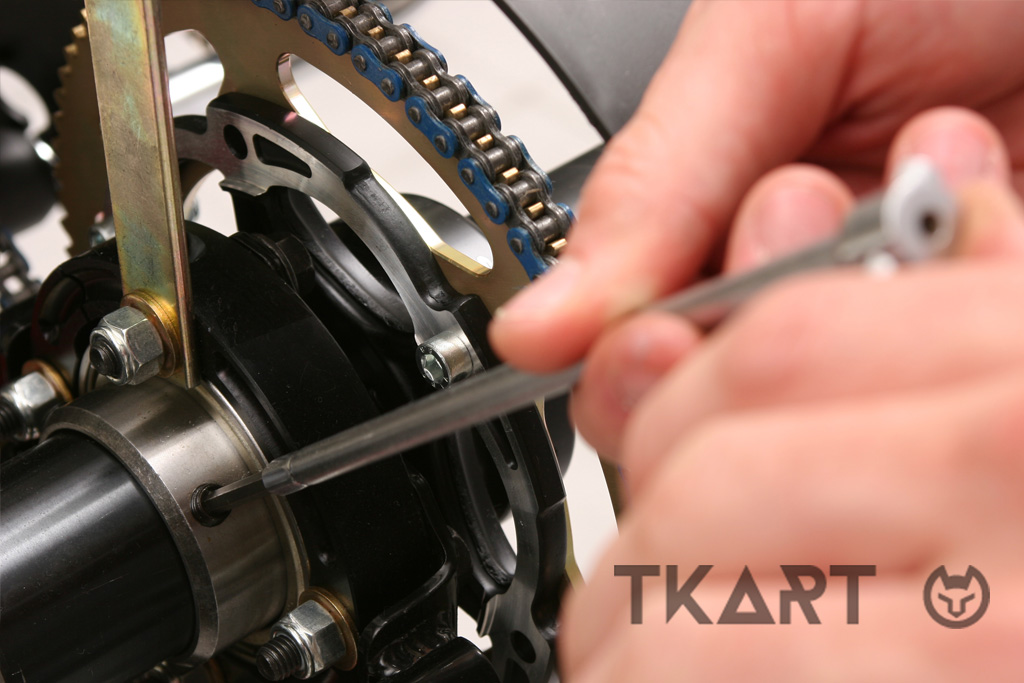
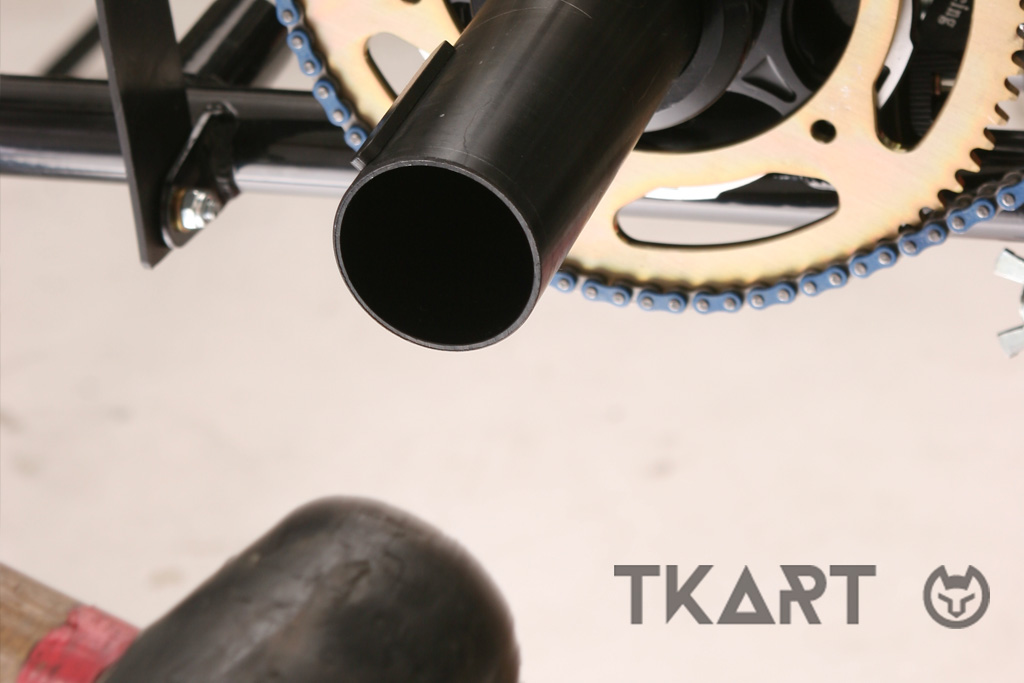
If the axle is not centred (i.e. the distance between the bearing carrier and the end of the axle is not the same on the right and the left), unscrew the bolts on the rear bearings using a 4 or 5 mm (depending on the chassis) Allen key and, using a rubber mallet, hammer lightly until the axle is perfectly centred.
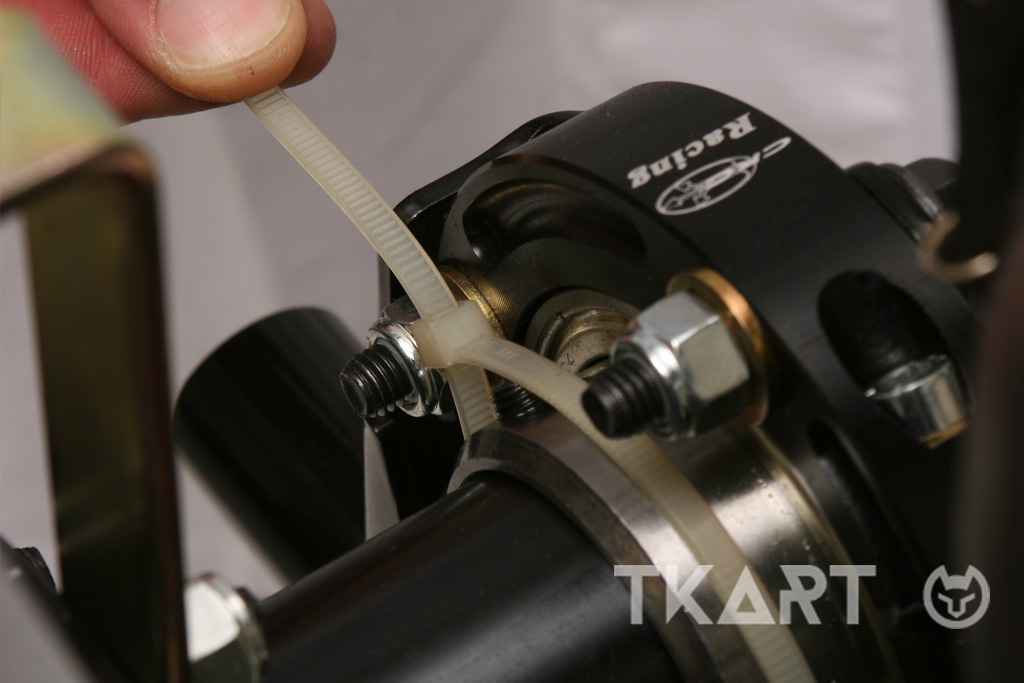
Once certain that the axle “juts out” from the bearings equally from the right and the left, tighten the bolts and cover them with insulating tape or wide clips.