Frequent Searches
Frequent Searches
In general, bearings are mechanical devices designed to reduce friction between two objects rotating against each other. A kart’s rear bearings are those through which the axle passes, thereby attaching it to the bodywork. As is widely known, the axle, driven by the engine through a transmission, gives the wheels (attached to each end of the axle) their rotary motion and, therefore, makes the kart move.
There are various reasons for replacing the rear bearings, including those of a “mechanical” nature (seizures, damage due to knocks, wear, etc.) and those related to the set-up (for example, the need for bearings with a better grip on the axle). The steps involved are very similar to those required to replace an axle.

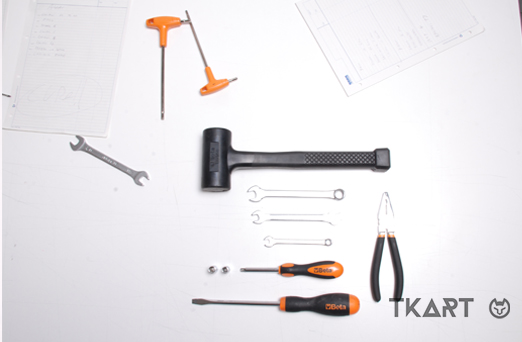
Having placed the kart on the trolley, first remove a number of components which prevent you to work freely. Remove: the wheels (after having loosened the screws using a 6 mm Allen key), the chain guard, silencer (by disconnecting the springs using pliers or, with a little skill, your hands). Then, use an 8 mm Allen key to loosen the engine so that it may be moved slightly to remove the chain and free the axle.