no results
Frequent Searches
"Axle"
"Tires"
"Setup"
"Caster"
"Seat"
"Carburetion"
"Carburettor"
Frequent Searches
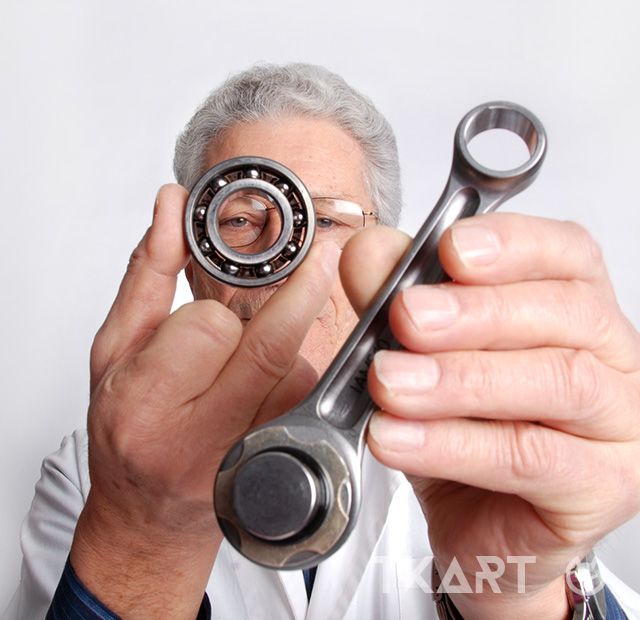


An engine’s internal components rotate at very high speeds; so they are mounted on spherical elements (balls and roll cages) that facilitate their co-rotation and reduce friction between them. All of these “facilitating” components need to be inspected on a regular basis, to avoid wear and tear that culd lead to serious engine failure. There are no particular signs of evidence for when it’s time to “renovate”: if you notice a “symptom” it’s always too late. So, the rule is to replace ball bearings and roll cages regularly, according to the factory-recommended maintenance schedule. This is a very complex operation that is usually best left to a prefessional. If you’re not an expert, the risk of installing the bearings the wrong way, compromising shaft rotation, or not getting a perfectly straight shaft is very high. Besides, you have to be able to open up the engine and, ideally, take out the clucth mechanism (it makes the whole process easier).
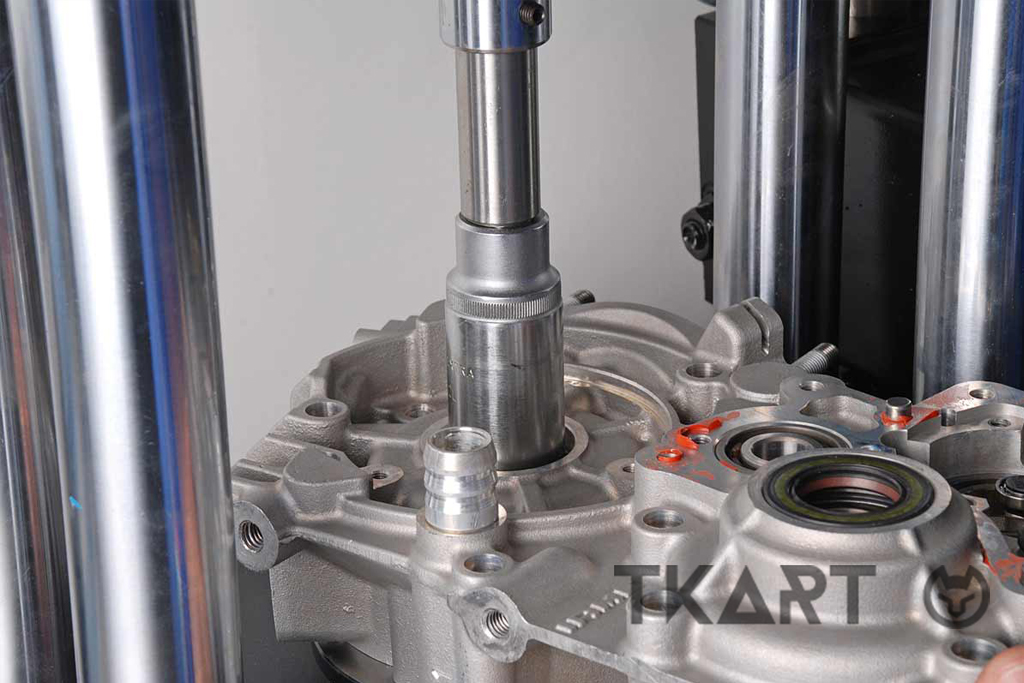
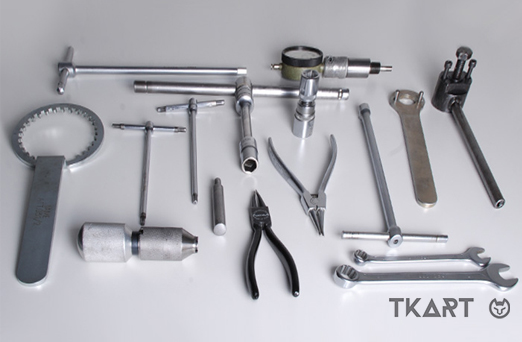
You’ll need several tools, including specialty instruments like a press, which you normally find in official shops or the garages of serious karting gurus. We employed a 6 ton press for this article’s demo.
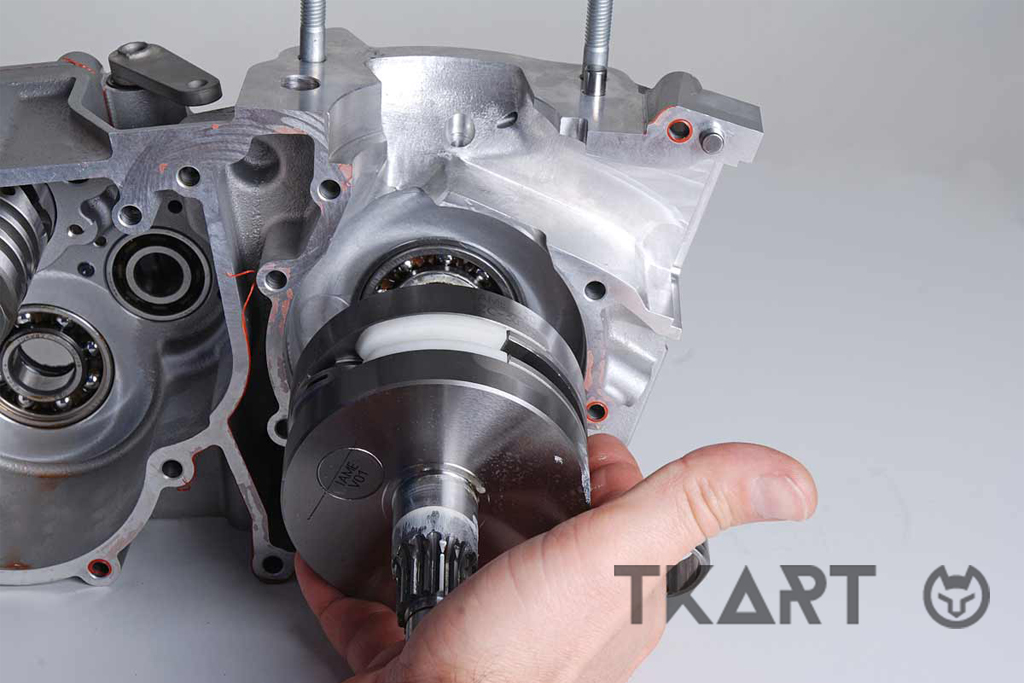
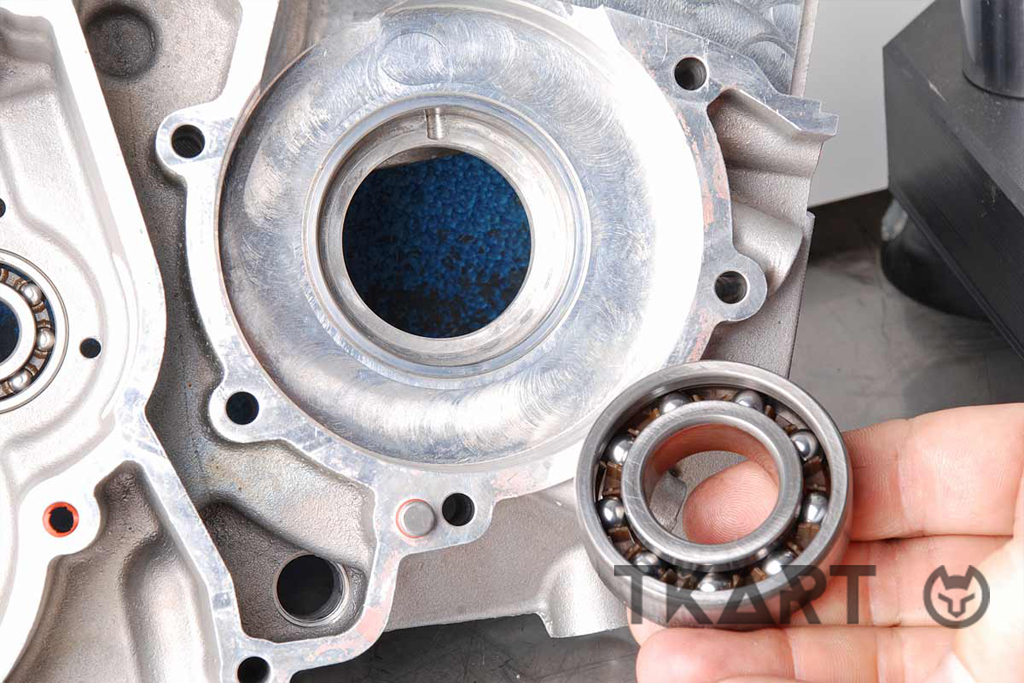
So this is how it’s done, if you’re a pro, or fell oike one. After “opening” the crankcase, remove the crankshaft (pulling it towards you). Then remove the gasket seal with a flat-head screwdriver. Third, with the crankcase set on a flat bench, git the press with a draw pin, turn it on, and remove the bearing.